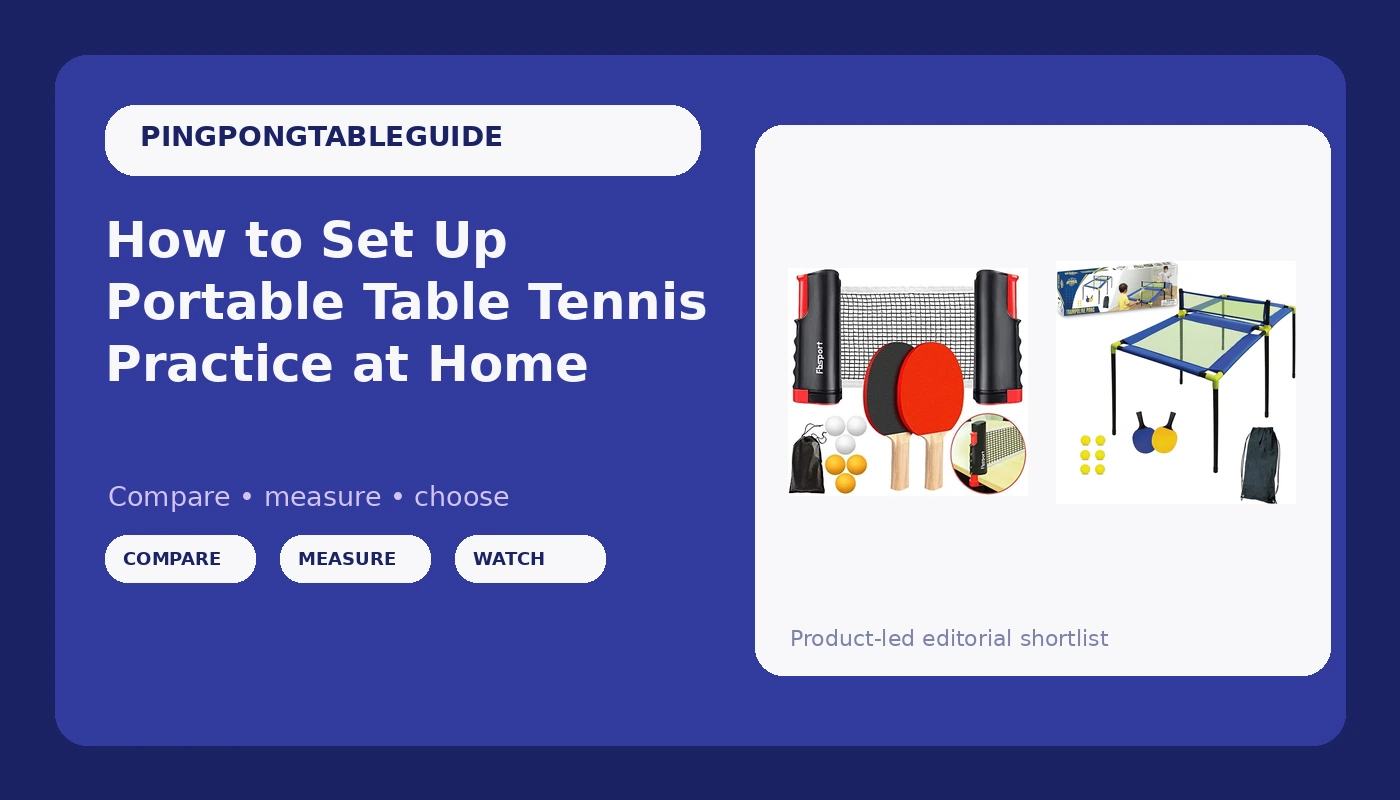
The first thing I tell a parent who calls the club asking where to put a table is: you probably do not need one yet. Portable table tennis practice at home is a different project from owning a table, and for most families with a kid under fourteen it is the right one.
I run a club in a converted warehouse in Milwaukee with six tables on the floor. I have watched juniors come in twice a week and I have watched juniors whose parents bought them a cheap foldable for the basement. The second group usually develops a loop that bottoms out into the net, because they learned the game on a surface that does not bounce the way a table bounces. A warped 12mm top teaches your hands to lift the ball. That habit takes a year to unlearn.
But here is the other half of the story. A kid who practices serves and footwork on a dining table three times a week, with a net that is actually at the right height, comes back to the club sharper than a kid with a bad table in the garage. Timing, toss, contact point, these survive a smaller surface. Bounce height does not, so you design the practice around the things that do.
The setup is not complicated. You need a flat surface, a net that clamps square and holds tension, a bag of balls, and twenty minutes a day. This is how I build it, and what I check before I trust it.
Why you should trust me
I played competitively in Brno as a teenager, came to the United States at twenty, and now I coach juniors and run a six-table club. I have leveled, shimmed, and repaired more tables than I can count, including a stack of cheap foldables that came in warped and left with a shim under one leg. I measure table thickness, I drop a ball from 30cm at nine points to map bounce consistency, and I check frame squareness with a carpenter's square before I let anyone hit on a table.
Folding mechanisms are where tables die, and I have fixed about forty of them. That experience is exactly why I take portable practice setups seriously. When you cannot control the surface, you control everything else: net height, net tension, squareness, ball count, and the drill list. Those are the variables that decide whether home practice helps or hurts.
One boundary: I do not review paddles. I refer that to people who specialize in rubber and blade combinations. This guide is about the surface, the net, and the routine.
How I picked and how I tested
I am not going to pretend a retractable net clamped to a dining table is a club table. It is not. What I am judging is whether a home setup can hold a drill together without teaching bad habits, and there are only a few things that matter.
Here is what I check, in order. First, the clamp. It has to grip a table edge without walking when a ball clips the net, and it has to do that without denting veneer. Second, net tension. A net that sags in the middle is worse than no net, because it trains you to aim higher than you should. Third, squareness. The posts must sit perpendicular to the table edge, or every bounce off the net lies to you. Fourth, the storage story. If it takes four minutes to set up, nobody sets it up.
Both kits below clear the bar I set for a home setup. The net clamps and holds, the tension stays where I put it, and the whole thing goes back in the bag without a fight. What they do not do is replace a table, and I say that plainly in each entry.
The kit you clamp to your table
You cannot practice the game without a net. The net is the part that defines the target, and it is the part that most home setups get wrong: too low, too slack, or clamped crooked because nobody checked. The two products here solve the net problem in two different ways, for two different age groups.
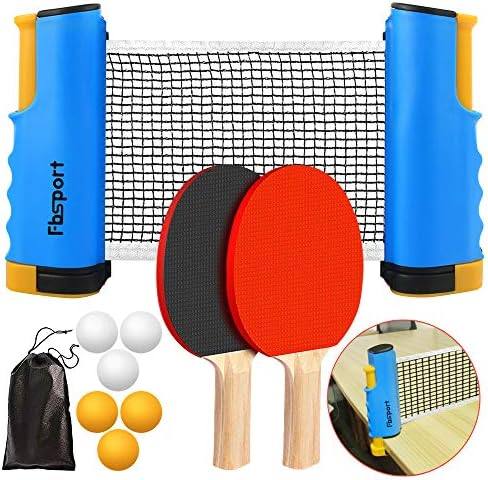
The all-around pick: FBSPORT Ping Pong Paddle Set, Portable Table Tennis Set with Retractable Net,Rackets,Balls and Carry Bag for Indoor/Outdoor Games
 Visit on Amazon →
This is the setup I point families to first, because the retractable net is the whole reason it works. It clamps to a dining table, a kitchen island, a countertop, or a picnic table, and it goes back in the carry bag when dinner is ready. Two rackets and balls come with it, so a kid can serve to a sibling or a parent without buying anything else. Check current Amazon price.
The retractable design is what makes it portable, and it is also what you should inspect on arrival. Pull the net out fully, clamp both ends, and check that the line sits straight across. If the posts are not perpendicular to the table edge, the net is skewed and your serve practice will learn the wrong angle.
Flaws but not dealbreakers: The clamp jaws are the weak point on any retractable net, and this one is no exception. Put a folded towel under each jaw if the table has real veneer. The rackets in a bundled set are starter rackets, fine for a kid learning to make contact, not fine for a junior who already plays competitively. And unclamp it after every session. Clamp pressure left on a table for weeks is how you get a permanent mark.
Families with a kid between eight and fourteen, a dining table, and twenty minutes a day will get the most out of this.
The kid-first option: Anywhere Sports - Portable Trampoline Ping Pong Table Tennis Game for Indoor or Outdoor Use, Includes Two Paddles, Six Balls, Storage Bag, and Compact Size for Kids
 Visit on Amazon →
This is a different product for a different kid. It is a trampoline-style game, not a table with a net on it, and it comes with two paddles, six balls, and a storage bag, sized for children. The surface is tensioned, so the ball comes off it on a different arc than a table bounce. That is not a flaw, it is the point. For a five to eight year old, the goal is tracking the ball and making clean contact, not grooving a topspin loop. Check current Amazon price.
I like it for the driveway, the basement, the backyard, and the days when the weather is fine and nobody wants to be inside. It sets up fast and stores small, which in my experience is the difference between a game that gets used and a game that lives behind the couch.
Flaws but not dealbreakers: Do not hand this to a junior who already plays at a club and expect it to help their table game. The bounce is not table bounce, and habits built on a trampoline surface do not transfer to a 19mm top. It is a coordination toy for young kids and a yard game for the family, and it is good at both of those jobs. Also, it is a light, compact product, so it lives outdoors or in a garage better than in a formal living room.
Parents of kids five to eight, and anyone who wants a portable game that fits in a car trunk, should look here.
The actual setup workflow
Now the part you came for. This works with any retractable net and any flat surface. If your table is not flat, fix that first, because everything downstream depends on it.
Step one: Find the surface and check it for flat. Run a level or a straightedge across the top in both directions. Dining tables with a leaf sag in the middle, and a ball placed on a sag will roll. If it rolls, you have found your first problem, and no net height adjustment will hide it.
Step two: Clear both ends. You need room behind each end for footwork and a full swing. A wall directly behind one end is worse than a small table, because you will shorten your stroke to avoid hitting it, and that shortened stroke comes back to the club with you.
Step three: Find the center and clamp. Measure the length, mark the middle, and clamp the net there. Both jaws should sit flat on the table edge, not hanging over the corner, not biting into the side of the table.
Step four: Check squareness. Take a carpenter's square and set it against the table edge at each post. The post should be perpendicular to the edge, and the net line should run straight across the table. Skewed nets produce skewed bounces, and skewed bounces teach bad angles.
Step five: Set the height and pull the tension. The rules call for a net 15.25cm high at the center, with the posts holding it slightly higher at the ends. Retractable nets usually have a tension strap or a hook. Pull it until the middle of the net stops sagging. A slack net lets the ball dribble over, and you will unconsciously start lifting your shots to compensate.
Step six: Protect the table. A folded cloth under each clamp jaw. This takes ten seconds and it is the difference between a table you can still eat dinner on and a table with two dents in the edge.
Step seven: Count your balls. Six is the floor. A bucket of twenty is better, because serve practice burns through balls fast and chasing them is what kills a routine.
Step eight: Run the drills that survive a small surface. Ten minutes of serves into a target on the far half. Five minutes of bouncing the ball on the paddle face, flat and then with the edge. Five minutes of shadow strokes with no ball at all, watching your elbow. None of these need a full-size table, and all of them transfer.
Step nine: Tear it down. Unclamp the net after every session and put the whole kit back in the bag. This is the step people skip, and it is the step that protects both the table and the net.
If your kid is old enough to play points, play points, but keep the score honest and keep the target small. A narrow table rewards placement, which is not the worst thing to learn young.
The competition and why it lost
A full-size table, an outdoor table, and a ball robot are all real purchases, and none of them are this guide. A full-size table is the right answer when you have the floor space and the budget for an honest one, and the wrong answer when you are folding it against a wall in a room with a low ceiling. Outdoor tables are a different material science and I do not review them, because the surface behaves differently in sun and rain and judging them by indoor standards is how people get burned.
The tournament brands make excellent tables. They are also priced for clubs and tournaments, not for a family testing whether a nine year old actually likes the sport. I have watched too many families spend the price of a used car on a table that ends up under a pile of laundry by February.
The rebound board and the robot thrower both have a place, and both are a later purchase. Get the net height and the routine right first. If the kid is still practicing in three months, then you buy the next thing.
What this all costs
I am not going to quote you prices, because this category moves and I would rather you check the live number than trust a figure I wrote down. Use the "Check current Amazon price" link on each product above. What I will tell you is how to think about the money.
- A portable net-and-paddle kit costs a fraction of the cheapest full-size table, and it fits in a closet.
- The kid-first trampoline game costs less than the net kit and buys you a yard game and a coordination tool in one box.
- A full-size table is the expensive option, and it is only worth it if you have the room and the kid has already shown you they will use it.
Do the math over a year of practice, not over a weekend. A setup that gets used four times a week for a year is cheap at almost any price. A table that gets used twice and then holds boxes is expensive at any discount.
That is the job. Get the surface flat, get the net square and tight, run the drills that transfer, and unclamp it when you are done. Your kid's hands will remember the work even when the table is put away.