Most tables are set up wrong, and nobody finds out until a kid develops a hitch in his forehand from chasing balls that bounce sideways. I run a community club in a converted warehouse in Milwaukee with six tables on the floor, and I have set up, leveled, and repaired more of them than I can count. The one diagnostic I trust above every spec sheet is a table tennis bounce test: one ball, dropped from 30cm, at nine points across the surface, with the rebound height written down.
That is the whole article. A ball, a tape measure, a carpenter's square, and 20 minutes. Everything else is marketing.
Why you should trust me
I played competitively in the Czech Republic as a teenager, immigrated at 20, and now run a club where the tables take six hours of daily play. I measure top thickness, check frame squareness with a carpenter's square, and drop balls at nine points before I let a table hold a junior practice. I have fixed around 40 folding mechanisms, and most of those failures started as a loose bolt that nobody tightened in the first month.
My bias is simple: the table is 10% of your game and 90% of your headaches. A warped top ruins practice worse than a bad paddle ever will, because you cannot see the warp from the outside. You just see a kid missing shots he should make.
How I test a table, and what the numbers mean
I do the same routine to every table that comes through the warehouse, whether it was donated, bought used from a school, or assembled from a box on my floor.
The nine-point drop test is the core of it. I mark nine spots: four corners, four mid-sides, and dead center. I drop the same ball from 30cm above the surface, holding it at the top of the drop so it falls flat, and I record the rebound height at each spot. Then I do it again with the ball rotated, because a ball with a soft seam lies to you.
What matters is not how high the ball comes back. It is how much the height varies from point to point. A table that returns everything low and even is playable. A table that returns the ball high in the middle and dead in one corner is a table that will teach your family bad timing, and there is no adjustment that fixes it.
I also check three other things while I am down there. Frame squareness with a carpenter's square across the corners. Net tension, because a sagging net kills the short game. And the folding locks and casters, because that is where tables die. Locking casters are non-negotiable in my book. I have watched a table roll into a car door.
The gear this method needs
Two things: a ball worth dropping, and a table worth dropping it on.
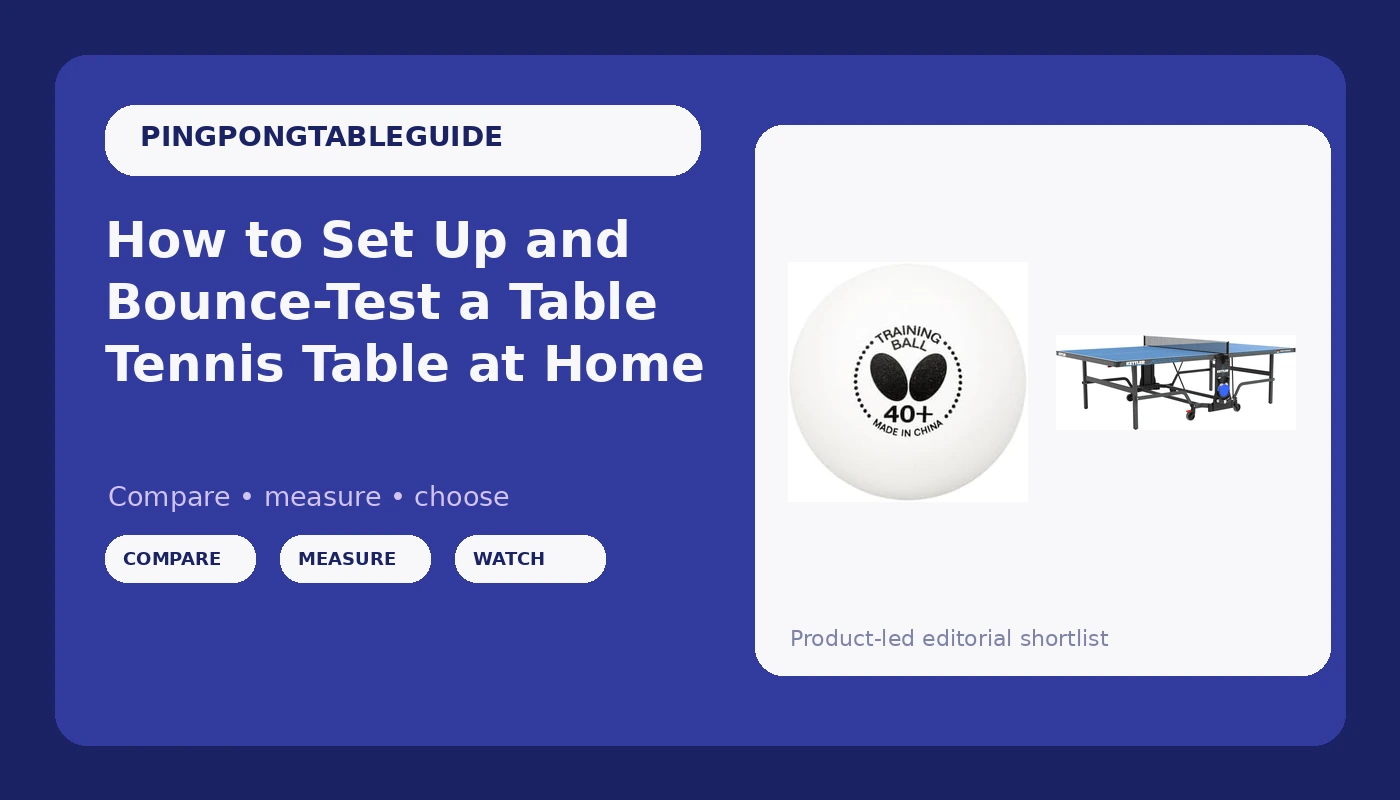
The ball for the test: Butterfly 40+ Training Ball 40+ Ball Used for Training, Available in a Box of 6 or 120 White Training Balls, Comparable to a Three-Star Ball and Perfect for Multiball Practice
 Visit on Amazon →
For a bounce test you want a plain 40+ white ball that behaves the same on drop one and drop nine. That is exactly what a training ball is for. This one is sold as a box of 6 or a box of 120, and it is described as comparable to a three-star ball, which is the rating that matters for practice work. Multiball drills and the nine-point test put the same demands on a ball: repeatable bounce, no surprises.
Buy the 120 box if you are testing a table and coaching anyone. Balls disappear under couches, into garage corners, and into the neighbor's yard. I lose more balls to a bad bounce off a table edge than I lose to broken ones.
Check current Amazon price before you order, and check the box size on the listing so you know whether you are getting 6 or 120.
One caveat: a cracked or soft ball will lie to you on the drop test. Retire any ball that sounds dull when you tap it against the table, and keep your test balls separate from the ones your kids hit against a wall.
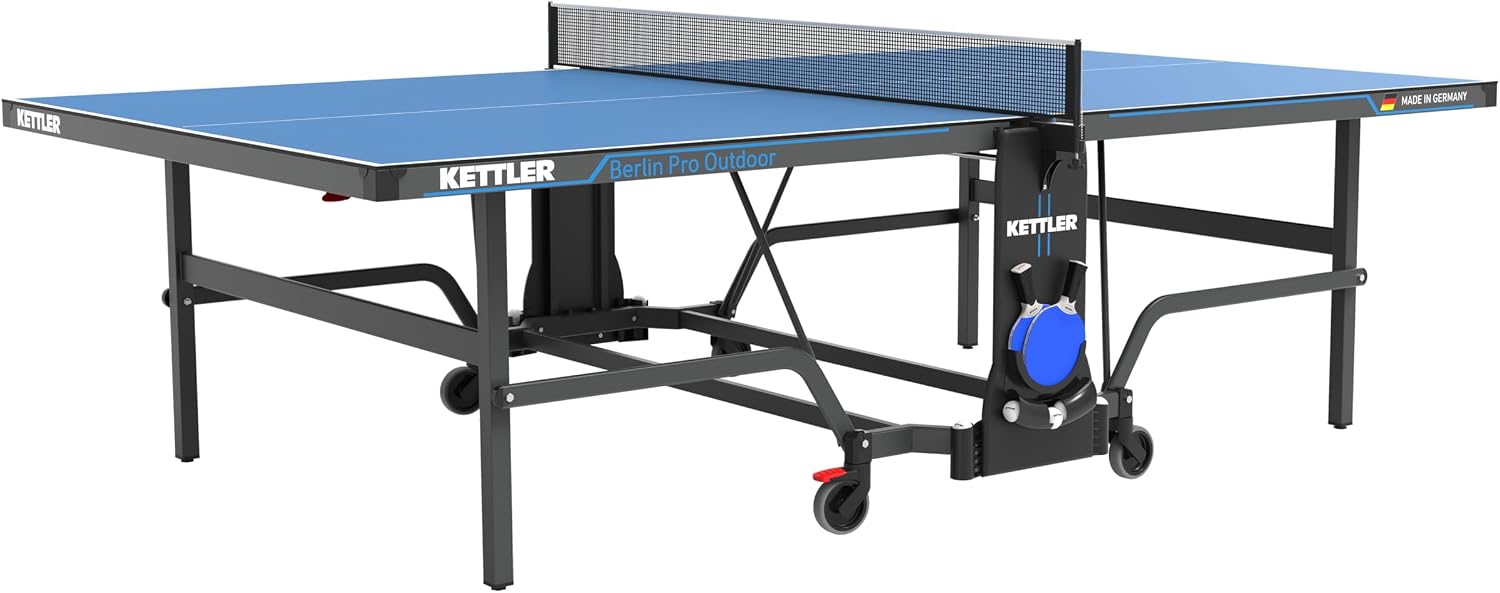
The table if it lives outside: KETTLER Berlin Pro Outdoor Table Tennis Table
 Visit on Amazon →
I will be straight with you: outdoor tables are a different material science, and I normally hand those questions to people who work with them every week. This is the outdoor model in this article, and I am including it because a lot of families in Wisconsin want a table on a patio or in a driveway, and the setup routine for that table is not the same as the routine for a basement table.
If your table lives outdoors, you are not chasing a tournament bounce. You are chasing a surface that stays flat through a freeze and a thaw, and a top that survives being left out. Read the listing carefully for how the table is meant to be stored and covered, because that decision matters more than any spec line. The bounce test still applies, and it is even more useful outdoors, because a patio table that has bowed over a winter will show it in the nine points long before you can see it with your eye.
Check current Amazon price on the listing, and read the storage details before you commit. Outdoor ownership is mostly about how you treat the table between sessions.
The setup, step by step
Step one: pick the floor before you pick the table. A table on a sloped garage floor will never be level. Garage slabs slope toward the door on purpose. If your only space slopes, plan to shim, and plan to re-check after a month.
Step two: lay everything out and count the hardware. Unbox in the room where the table will live. Count bolts against the parts list before you start, because a missing bolt found halfway through assembly costs you a week.
Step three: build the frame loose, then square it. Snug the frame bolts, do not crank them. Check the diagonals with a tape measure and the corners with a carpenter's square. When the diagonals match, tighten everything. Squaring after tightening is how you bend a frame.
Step four: attach the top and check the apron. The apron is the frame under the top, and it is what keeps the playing surface flat. Look for gaps between the top and the apron as you tighten. A gap means the top is being pulled into a twist.
Step five: level the legs. Use a level across the apron in both directions, then shim or adjust the feet until the bubble sits still. Check at the corners, not just the middle. Legs that do not level on a garage floor are one of the most common complaints I hear, and it is almost always the floor, not the leg.
Step six: set the net. Tension matters as much as height. The net should be tight enough that a ball does not roll under it and high enough that a flat drive does not clip the tape on a clean hit. Check the manual for the height your table was built to, and check the middle of the net, not the posts.
Step seven: run the nine-point bounce test. Mark your nine spots, drop from 30cm, record every rebound. Do the whole set twice. If the second pass disagrees with the first, your ball is the problem, not the table.
Step eight: check the fold and the casters. Fold and unfold the table twice. Listen for a scrape. Then push it a foot and try to stop it. If the wheels will not lock, treat that as a defect, because a table that rolls is a table that eventually hits something.
Step nine: re-test in 30 days. Wood and composite tops settle. The table that tested clean on day one can show a corner on day thirty once the frame has relaxed.
How to read the results, and when to send it back
Even rebound across all nine points is a keeper. A small variation is normal on any home table and you will never feel it in play.
A large variation in one corner, or a whole long side reading low, means the top is not flat. First, loosen the frame bolts and re-square, then re-test. If the pattern does not move, the top is warped and it is going back. No shim fixes a warped top.
Two things that look like quality but are not. Thickness is not quality: a thick table with a hollow core bounces worse than a thin one with a solid core. And "tournament-grade" at 12mm is a marketing phrase, not a measurement. If a listing calls itself tournament-grade and the top is thinner than the club standard, the word is doing the work the top cannot.
Watch the paint where balls land, too. If the surface scuffs down to bare material in the first month of practice, that top will not survive a junior season.
What this article is not
This is not a paddle guide. Paddle selection is its own discipline and I send people to specialists for it. This is not an indoor-versus-outdoor tournament comparison either, because those two products are built from different materials for different jobs and reviewing them side by side is how people buy the wrong thing.
And it is not a recommendation to spend club money on a home table. I would love every family to have a four-figure club table in the basement. They cannot, and pretending otherwise does not help anyone.
What this costs
The ball is the cheapest part of this process, and it is the part that makes the test possible, so do not skip it. Check current Amazon price for the training balls, and check current Amazon price for the outdoor table if that is the route you are taking.
The rest of the cost is your afternoon. The carpenter's square, the tape measure, and the level are tools most households already own. Divide whatever you spend by the number of evenings your family will actually use the table, and the daily number gets small fast. The expensive version of this hobby is buying a table twice because the first one was never checked.
Final word
Set it up square, level it on the floor you actually have, and drop a ball nine times. That test takes five minutes and it will tell you more about your table than the box ever did. Your family will not notice the difference on day one. They will notice it in a year, when their timing is still clean and the table is still flat.
Do the test. Write the numbers down. Then go play.