A table tennis table setup fails in the same three places every time: the legs, the frame, and the floor under it. I run a community club in a converted warehouse in Milwaukee with six tables, and I have leveled and repaired enough of them to know that the bounce is decided long before anyone picks up a paddle. Walk into a room, press one corner down, and you can feel whether a table is going to fight you for the next three years.
Most of the questions I get are not about club tables. They come from parents and apartment players who bought a portable setup, put it on a basement floor, and cannot work out why the ball kicks sideways off the middle of the surface. That is a setup problem, not a table problem, and it is fixable in about half an hour with tools you already own.
This is the routine I use on every table that comes through my warehouse: level it, square it, tension the net, then run a nine-point bounce test. Do it once, write the numbers down, and you will know exactly what you own and what it will teach your family.
Why you should trust me
I played competitive table tennis in the Czech Republic as a teenager, came to the States at 20, and now spend my evenings coaching juniors on six tables I bought used and keep alive myself. I measure table thickness, drop a ball from 30 cm at nine points to read bounce consistency, and check frame squareness with a carpenter's square that has seen better days. I have fixed around 40 folding mechanisms, and I have thrown away tables that other people swore were fine.
I also have a bias worth stating up front. My current focus is finding home tables good enough that my juniors do not develop bad habits practicing in a garage. That means I care much less about brand names and much more about whether the surface returns a ball honestly.
Two things I do not cover: paddle selection, which belongs to people who specialize in rubber, and outdoor tables, which are a different material science entirely. This is about getting the surface and the frame right.
How I judge a setup before I touch the net
Bounce consistency is the only spec that matters, and it is the one nobody advertises. A ball dropped from 30 cm at nine points should come back to roughly the same height at every point, and it should come back straight up rather than kicking sideways. ITTF's own standard for an approved table asks for a rebound of about 23 cm from that drop. Most home tables will not hit that number, and that is fine. What is not fine is a table that hits 20 cm at one corner and 14 cm at another, because that teaches a player to compensate for the table instead of the ball.
Thickness is not quality. I have played on thick tables with hollow cores that bounce worse than a thin table with a solid core. For a club, 18 to 19 mm is the standard for a reason, and 12 to 15 mm is perfectly usable in a garage as long as the core is solid and the frame does not twist. Anyone selling you a 12 mm table as tournament grade is selling you a word, not a surface.
The other thing I check is the folding hardware. Folding mechanisms are where tables die. Locks that pinch fingers, hinges that loosen after a season, wheels that are not lockable. Locking casters are non-negotiable in my book. I have watched a table roll into a car door because nobody thought about it.
The gear I start with
Before you touch a level or a square, decide what you are actually setting up. A full-size table and a portable game are different products, and treating them the same way is how people end up disappointed. Here is what I point people toward when a full-size table is not in the cards.
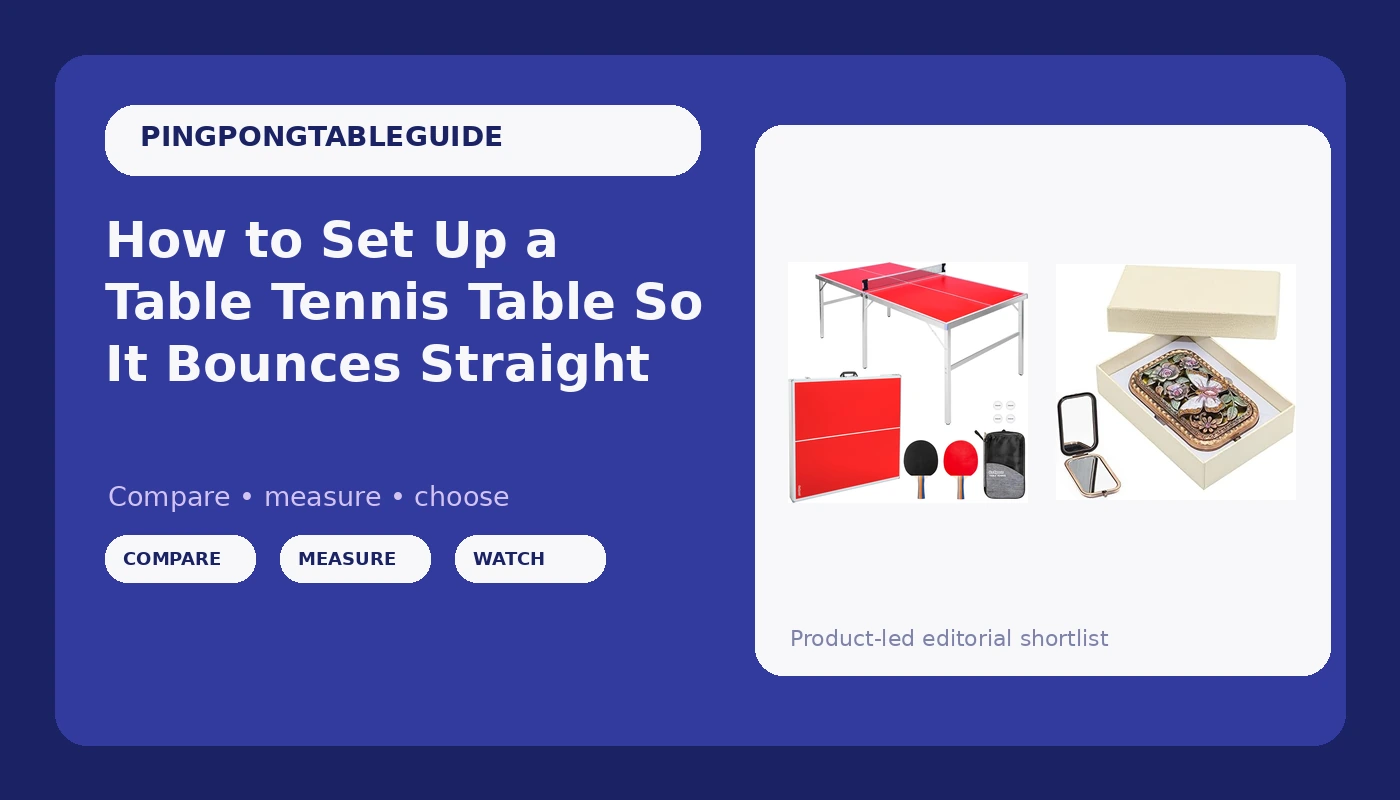
The portable setup: GoSports Mid-Size Table Tennis Game Set - Red or Blue - Indoor/Outdoor Portable Table Tennis Game with Net, 2 Table Tennis Paddles and 4 Balls
 Visit on Amazon →
This is a mid-size portable game, not a nine-foot table, and you should buy it knowing that. It comes with a net, two paddles, and four balls, and it plays indoors or outdoors, which makes it the practical answer for an apartment, a dorm room, a small basement, or a kid who is not ready for a full-size surface. The same routine below applies to it: level whatever it sits on, square the net line, then run the bounce test.
What I like about this category is that it gets a beginner hitting balls instead of waiting for a bigger room. What I want you to understand is the limit. A mid-size surface shortens the rally and changes how the ball arrives at your paddle, so it is a tool for touch, service practice, and keeping a kid interested, not a substitute for club practice. Use it honestly and it does real work. Use it as your only training surface and your footwork will pay for it later.
Flaws but not dealbreakers: Mid-size means a different bounce than a full table, and the net setup is only as square as the table underneath it. Put it on something solid. A sagging folding table under a portable set will ruin the bounce before you ever touch the net.
Anyone with limited floor space, a tight budget, or a young player who needs a first surface will get a lot out of this.
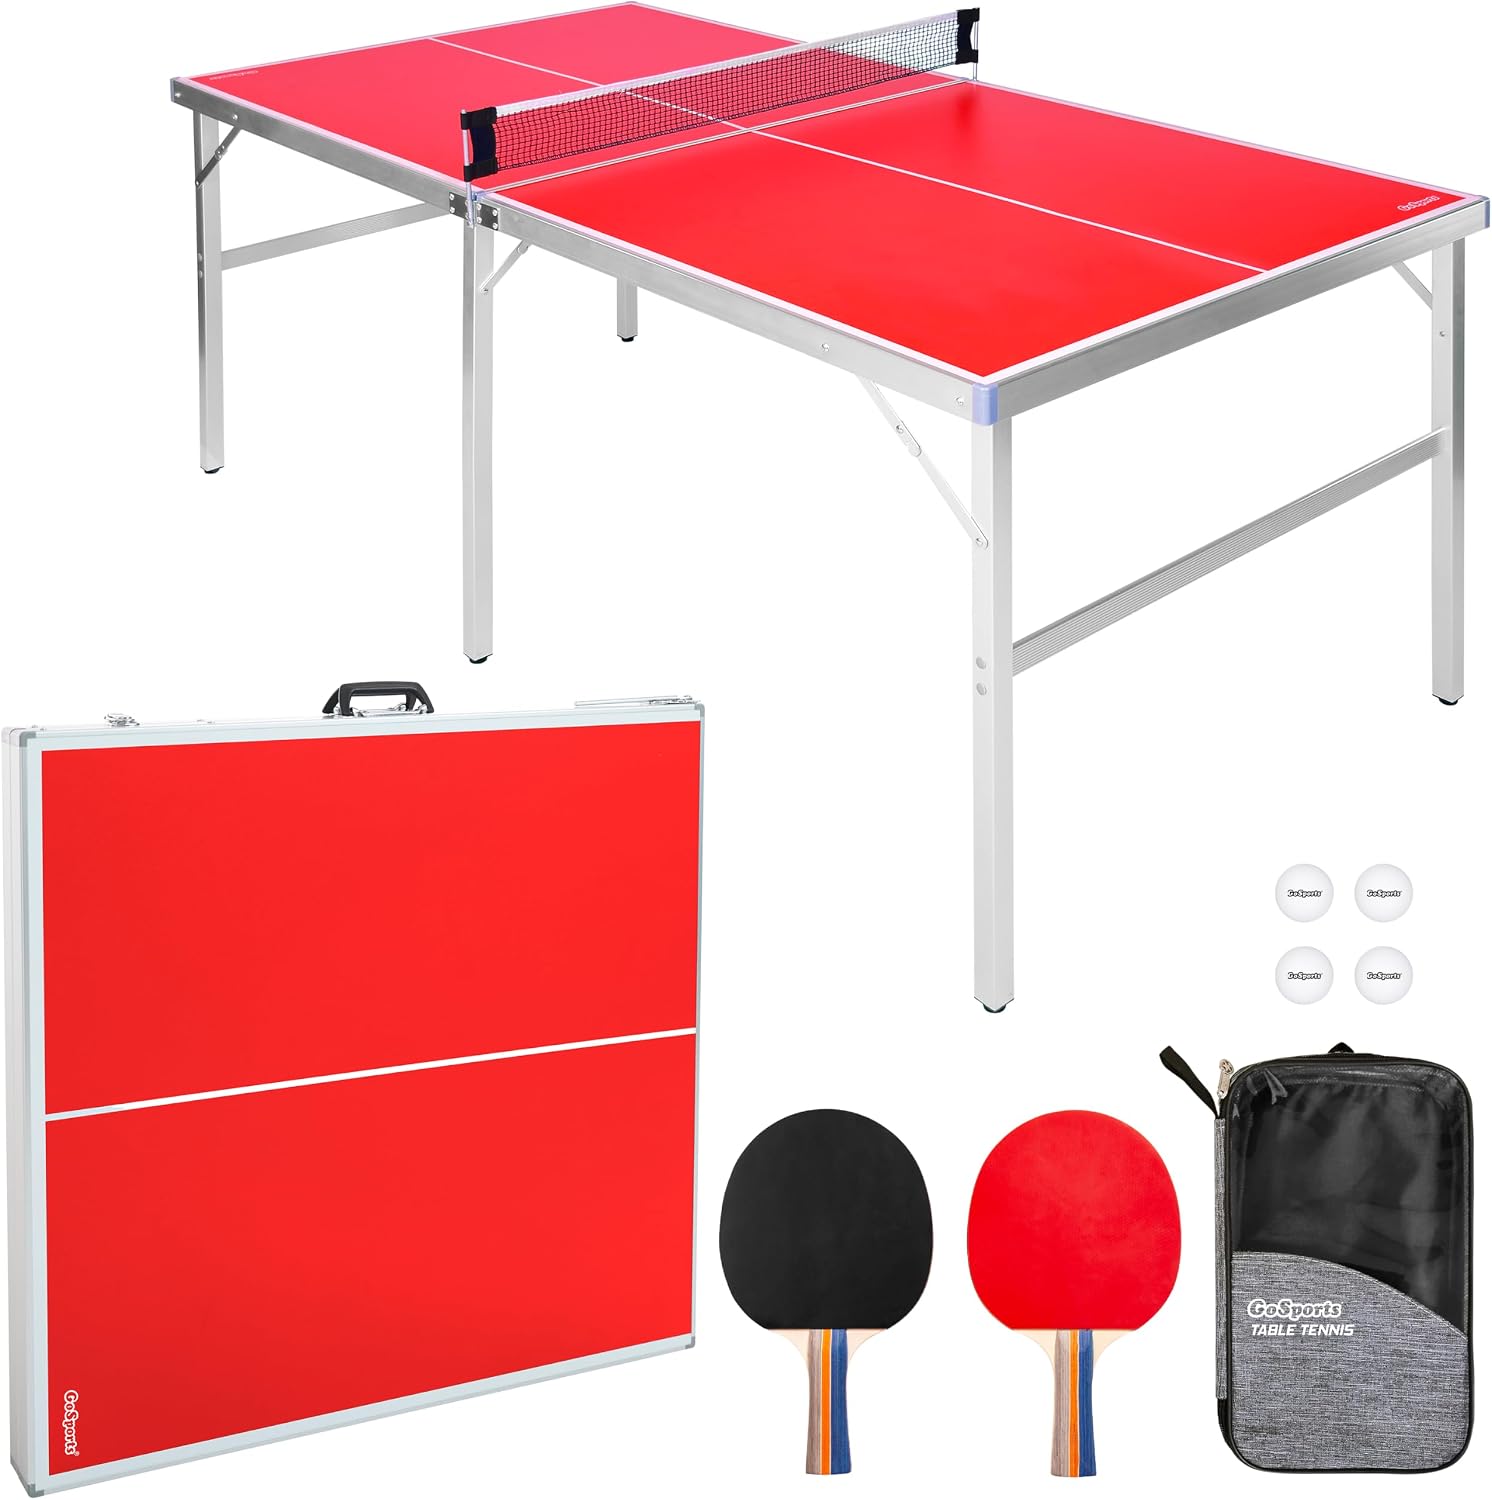
Optional extra: Warmtree Vintage Compact Mirror, Purse Mirror Cute Mirror with Butterfly
 Visit on Amazon →
This is a small folding mirror with a butterfly cover, and I know exactly how it sounds in an article about tables. Here is the honest case for it. When you practice alone, which is most of what a junior does at home, you cannot see your own service toss, your elbow, or your follow-through. Prop a small mirror at the far end of the table, or on a shelf at eye level, and you get a live view of your upper body between reps without stopping to pick up a phone. It is a stocking-stuffer item that happens to solve a real problem for solo practice.
Flaws but not dealbreakers: It is small, so it shows your toss and your shoulders from a few feet away, not your footwork. If you want full-body feedback, you need a phone on a tripod or a coach. For service and shadow strokes, this is enough.
Anyone practicing alone at home who wants to fix a service motion without a training partner will find a use for it.
The actual setup workflow
Now the part you came for. This works on a full-size table, a mid-size portable set, or anything in between.
Step one: Pick the floor before you pick the spot. Concrete garage floors slope toward the door for drainage, and that slope is the reason your table rocks on one corner. Basement slabs are usually flatter. Put a level on the floor where the legs will land, not just on the table. You want a spot with no direct sunlight baking one half of the surface and no forced-air vent blowing under it.
Step two: Level the legs and lock everything down. Shim with a thin plastic shim or a folded business card, never a book or a towel. Push down hard on each corner and each side. If it rocks, find which leg is short and shim it. Then lock the casters. All of them. A table that can roll is a table that will roll, and it will roll into something expensive.
Step three: Square the frame. This is the step everyone skips. Take a carpenter's square to each corner, then measure diagonally from corner to corner across the playing surface. If the two diagonal measurements do not match, the frame is twisted, and a twisted frame bounces unevenly no matter how level the legs are. Loosen the folding brackets, twist the frame straight, and retighten. You may need to do this twice. It is worth the ten minutes.
Step four: Set the net to spec. ITTF spec calls for a net height of 15.25 cm, about six inches, at the center, with the posts slightly higher. Tighten the net until it stops sagging and then stop. An over-tensioned net pulls the frame out of square, which undoes step three. On a portable setup, make sure the net line is square to the sides, not just tight.
Step five: Run the nine-point bounce test. Drop a ball from 30 cm, roughly 12 inches, at nine points: four corners, four mid-sides, and the center. Hold the ball at the same height each time and let it fall. Do not push it down. Watch two things. First, the rebound height. Second, and more important, whether the ball comes back straight up or kicks sideways. A sideways kick means a twisted frame or a dead spot. A spread of more than a couple of inches between points means the core or the surface is inconsistent.
Step six: Chase the dead spots. If one corner reads low, recheck the frame and the shim under that corner before you blame the table. If the frame is square and the legs are level and the bounce is still uneven, the core is the problem, and no amount of adjustment will fix it. That is the table telling you the truth.
Step seven: Fold it three times. Before you trust any folding table or portable setup, fold and unfold it three times and watch the locks. Look for pinch points, especially if there are kids in the house. A lock that releases too easily is a table that will fold itself at the wrong moment.
What the bounce test cannot tell you
The nine-point test is a snapshot, not a warranty. It will not tell you how the frame reacts to a Milwaukee January in an unheated garage, how the paint holds up where the ball lands ten thousand times, or how the folding hardware feels after 500 cycles. Re-run the test after a month and again at the end of the season. Write the numbers on the underside of the table. When a corner drops two inches between tests, you will know it happened and roughly when.
What I do not recommend, and why
I do not recommend tables that claim tournament grade at 12 mm. I do not recommend full-size foldables with hollow cores, because the bounce is a lie and the price hides it. I do not recommend anything with non-locking wheels. And I do not recommend judging a garage setup by club standards or a club table by garage standards. They are different products with different jobs, and reviewing them the same way is exactly how families end up with the wrong thing in the basement.
What this all costs
The portable game set is the lowest-cost way to get a real bounce surface into a small space, and the little mirror is pocket change next to it. Both show current pricing on their Amazon pages, so check there rather than trusting a number in an article that was written before the next sale.
The full-size conversation is a different budget and a different guide, because a club-grade table and a basement table are not competing products. What matters today is that the setup work costs you nothing but half an hour and a carpenter's square. If you play three times a week for a year, even a modest setup works out to pennies per session, and the bounce test is what makes those sessions worth having.
Do the level, the square, and the nine drops. Then play.