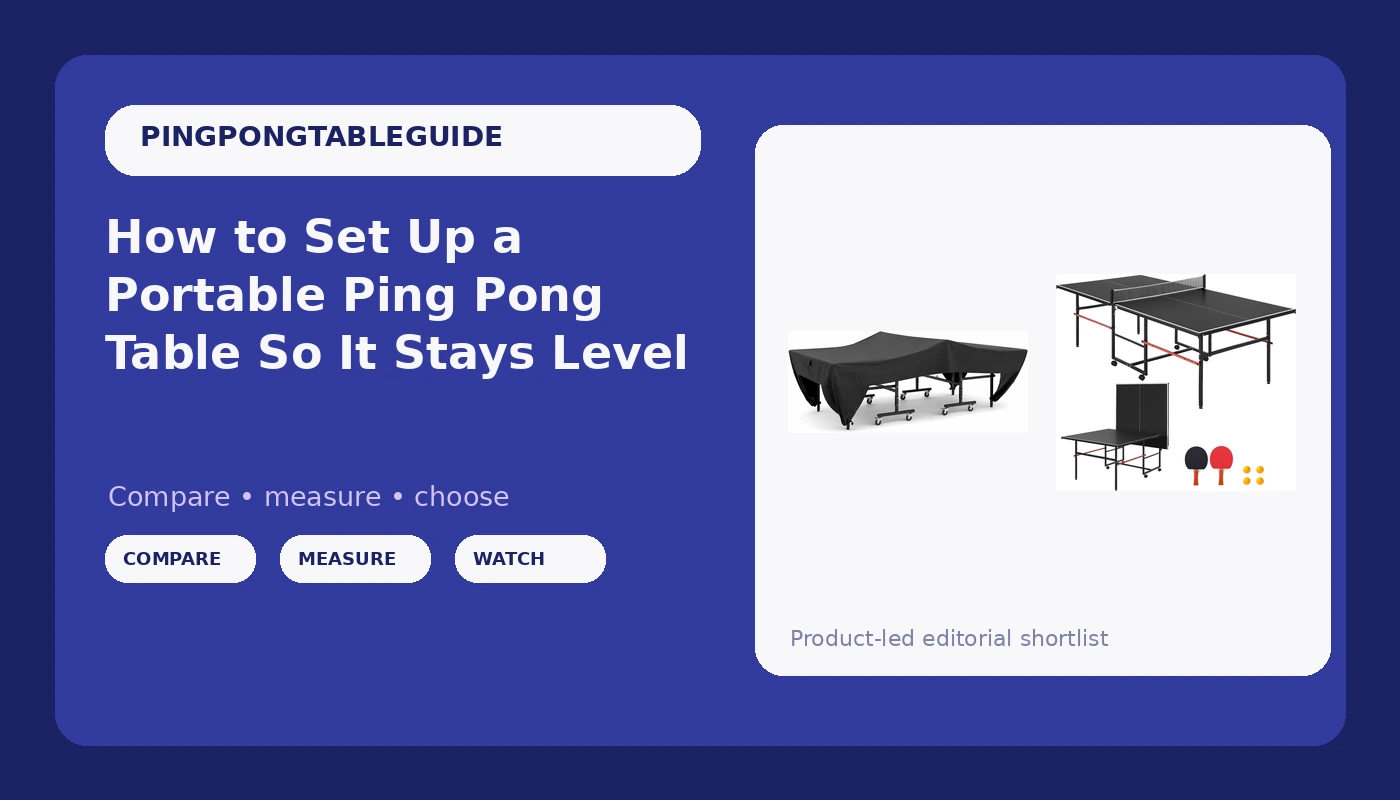
A portable ping pong table is not furniture. It is a machine with one job: put the ball back at the same height, in the same place, nine times out of nine. Get the setup wrong and you spend the next two years practicing on a table that lies to you.
I run a community club in a converted warehouse in Milwaukee with six tables on the floor. I have set up, leveled, and repaired more folding tables than I can count, and I have watched a 12mm table with a hollow core bounce worse than a solid 15mm one that cost half as much. The table matters less than people think. The setup matters more.
This is the walkthrough I give every family who asks me what to do once the box is in the garage. Two people, a level, and about thirty minutes gets you a table that plays like it cost twice as much. Skip it and you get a portable ping pong table that rocks on the slab, warps at the hinge, and teaches your kids bad habits long before they ever join a club.
Why you should trust me
I have been running tables since I was a teenager in Brno and repairing them since I moved to Wisconsin. My club floor sees six hours of daily play, which is a far harsher test than any basement. I measure table thickness with calipers, check frame squareness with a carpenter's square, and test bounce by dropping a 40mm ball from 30cm at nine points across the surface. I keep the numbers.
I have rebuilt or replaced something like forty folding mechanisms. I know which latch pinches fingers, which hinge bolt backs out after a season, and which caster stops locking after a month of garage grit. I do not review outdoor tables as a rule, because the material science is different from an indoor club table. But setup, leveling, and storage rules cross over, and that is what this article is about.
What you need before you start
You do not need much, and none of it is expensive. Get it together before you cut the tape on the box.
- A spirit level, 2 ft is plenty, 4 ft is better.
- A 12 inch carpenter's square.
- A tape measure.
- One fresh 40mm ball.
- A second person.
- Cardboard or a moving blanket for the floor.
- The hardware bag from the box, plus a 10mm wrench.
The single biggest mistake is assembly location. People unbox in the driveway, open the table there, and then try to carry a half-open table into the garage. Do the reverse. Move the box to where the table will live, then open it there.
The setup, step by step
Step one: pick the surface. Hard, flat, and out of the sun if you can manage it. Grass and gravel are out. A driveway apron is out, because it slopes. If the only spot you have is a sloped garage slab, read the leveling section below before you start, not after.
Step two: two people open the halves. Hands go on the frame, never on the playing surface. The half you are not holding is the half that lands on the net, the hinge, or your foot. This is the step where brand new tables get dented before the first ball is hit.
Step three: lock every caster. This is non-negotiable in my book. I have watched a table roll off a driveway and into a car door. If your table has storage wheels, they should lock, and you should lock them the moment the table is in position. If the wheels on your table do not lock, that is a design failure, not a minor annoyance.
Step four: check the center hinge line. Stand at one end and sight down the seam between the two halves. It should be a straight line, not a shallow V. A V means the hinge is not fully seated or the frame is twisted. Do not force it. Open and close it once more with two people and let it settle.
Step five: square the frame. Put the carpenter's square in each corner where the apron meets the leg frame. If the gap grows on one side, the table is racked, and no amount of leveling will fix a racked frame. Loosen the leg bolts, let the table settle flat, and re-snug.
Step six: level the legs. Level along the length first, then across the width, then check the diagonals. On most folding tables there are adjustable feet under the legs. Turn them by hand, not with a wrench. A table that is level lengthwise but off across the width will pull every ball toward one sideline.
Step seven: tension the net. The net should sit at 15.25cm at the posts and touch the table along its whole length. A net sagging in the middle is a net that swallows slow balls and gives you a false read on your push. Most included nets have a tension cord. Use it.
Step eight: snug the hardware. Go around the leg brackets and the hinge bolts with the wrench. Snug, not gorilla tight. Over-torqued bolts on a folding table crush the tube and create the wobble you were trying to prevent.
The bounce test: five minutes, nine points
This is the only spec that matters, and you can run it with one ball. Drop a 40mm ball from 30cm at nine points: four corners, four mid-sides, and the center. On a table that meets ITTF spec, the rebound is about 23cm.
What you are listening for is not the absolute number. It is the variation. If the ball returns to the same height at all nine points, your table is honest. If the two center points rebound noticeably lower than the corners, you have a hollow core or a sagging hinge, and that table will frustrate you for as long as you own it.
Then roll a ball slowly across the center seam. If it hops, the two halves are not co-planar. If it curves, the table is not level across its width. Both are setup problems first and product problems second, so fix the setup before you blame the table.
Leveling on a garage floor that slopes
Garage slabs slope toward the door on purpose, usually about an eighth of an inch per foot. That is enough to make a table unplayable if you ignore it.
Start with the table positioned where you want it and the casters locked. Put the level along the long axis and note which end is low. Extend the adjustable feet on the low end until the bubble centers. Then check across the width and repeat. Finally, check both diagonals. If the diagonals disagree, the frame is racked, and you are back to step five.
Here is the limit I give people: if you need more than about an inch of leg travel to get level, stop. You are compensating for a bad spot on the floor, and a table propped up on one long leg will wobble the first time somebody leans on it. Move the table three feet and start again.
The table and the cover
Two pieces of gear come up every time a family asks me about a garage or patio setup. Neither one is a substitute for the setup steps above, but both make the setup last longer.
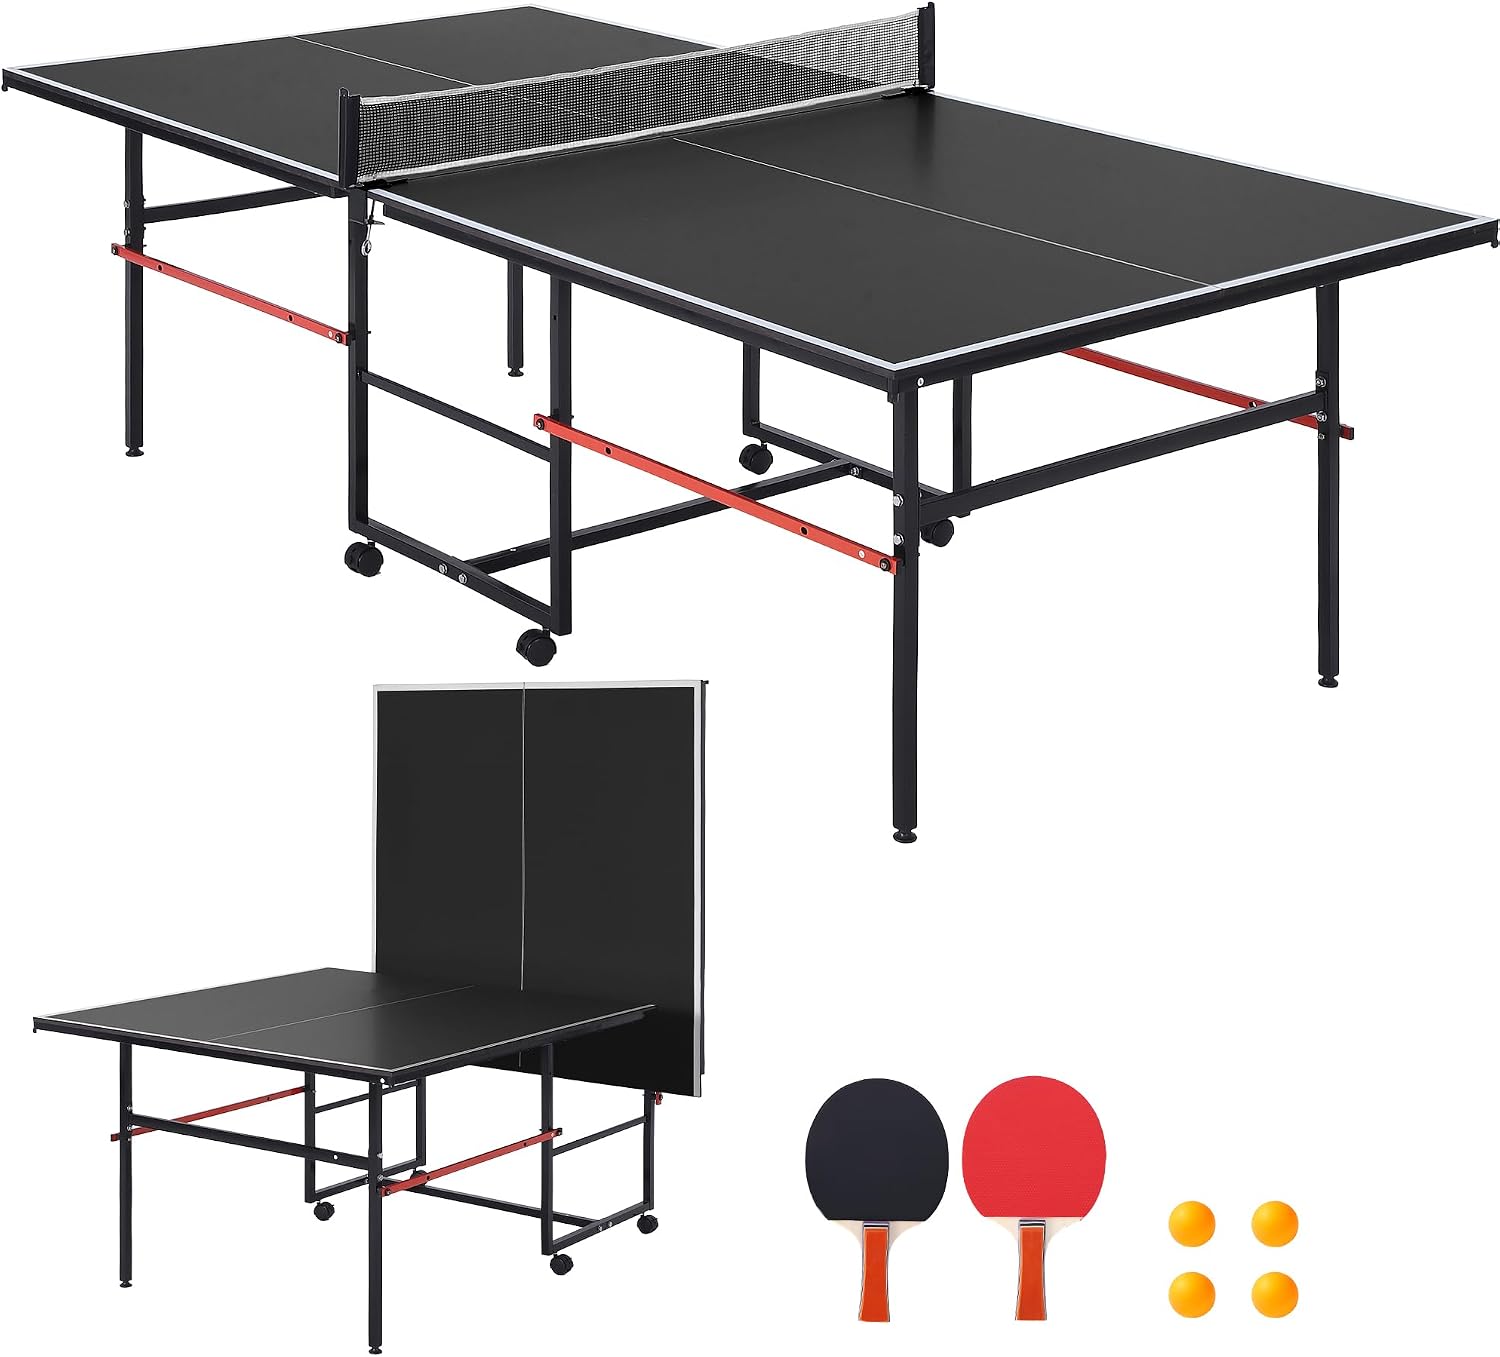
The table for this job: Garvee 8 ft Portable Ping Pong Table,Professional Outdoor Game for Adults
 Visit on Amazon →
Check current Amazon price. This is a full 8 ft folding table in the outdoor class, which matters more than most buyers realize. A 5 ft or 6 ft mini table teaches the wrong footwork, because your recovery steps are all wrong at that size. If you want a table your kids can practice on and you can fold away, the full-size footprint is the place to start.
Before you order, confirm four things on the listing: that the casters lock, that the leg levelers have enough travel for your slab, that the center hinge has a positive latch rather than a friction fit, and whether the surface is a solid core. I do not hand out bounce numbers for tables I have not dropped a ball on, and this one has not been through my nine-point test, so treat the words "professional" and "tournament" the way you would treat them on any box. They are marketing until a ball proves otherwise.
Flaws but not dealbreakers: Outdoor-class tables are built around weather resistance, and that is a different set of tradeoffs from an indoor club table. Expect a heavier frame and a surface that plays a touch slower than a good indoor 19mm. For a patio, a garage, or a driveway that gets folded up every week, that is the right compromise. For a dedicated training room, it is not.
Anyone who needs a full-size table that folds and moves without a second set of hands will get the most out of this one.
The storage pick: Ping Pong Table Cover Compatible with Cornilleau Sport 500M
 Visit on Amazon →
Check current Amazon price. A cover is the cheapest insurance you can buy for a table surface. Dust and garage grit settle on the playing surface, and grit under a bouncing ball is what slowly wears the paint where balls land. That is the beginning of the peel you see on old tables.
Fit is the whole game here, so read the name carefully. This cover is cut for the Cornilleau Sport 500M, which means it is sized to that table's folded footprint. If you own a different table, measure your folded length, width, and height and compare those numbers before you order. A cover that is too short leaves the hinge and the apron exposed, and those are the parts that rust.
Flaws but not dealbreakers: It is a fitted cover for one specific model, not a universal tarp. If your table is not that model, this is not the product for you, no matter how good the price looks.
Anyone storing a folding table in a garage, a shed, or under a patio overhang should have some kind of cover on it.
What actually kills a folding table
The folding mechanism is where tables die. I have fixed forty of them, and almost every failure traces back to one of five habits.
Folding with the net on. Take the net off. Every time. A folded net pinches between the halves and bends the post brackets, and bent post brackets are how you end up with a net that will not tension.
Moving it open. If you have to move the table more than a few feet, fold it first and roll it on its casters. Dragging an open table twists the frame.
One person doing a two person job. Folding a full-size table alone is how hinges get bent and how fingers get pinched. Those latch points are sharp.
Storing it flat against concrete. Standing a folded table on a garage floor is fine if the legs are on the floor and the surface is vertical. Laying the playing surface against a damp concrete wall is not. Moisture gets into the core from the back side and the surface warps.
Ignoring the hinge bolts. Check them every few months. A hinge bolt that backs out a quarter turn makes the center seam hop, and a hopping seam is the most annoying defect in table tennis.
What this all costs
The setup itself is free. The level, the square, and the tape measure are tools you probably own, and if you do not, they cost less than a box of decent balls. The table is the real spend, and the cover is the small spend that protects it. Check current Amazon price on both and do the math against how many years you plan to keep the table in the garage.
What you are really buying with thirty minutes of setup is consistency. A level table with a square frame and a tight net lets a junior player learn what a real bounce feels like. An unlevel one teaches them to compensate for a defect, and that habit follows them to a club floor years later.
That is the job. Get it level, lock the casters, drop the ball nine times, and let the table do the rest.