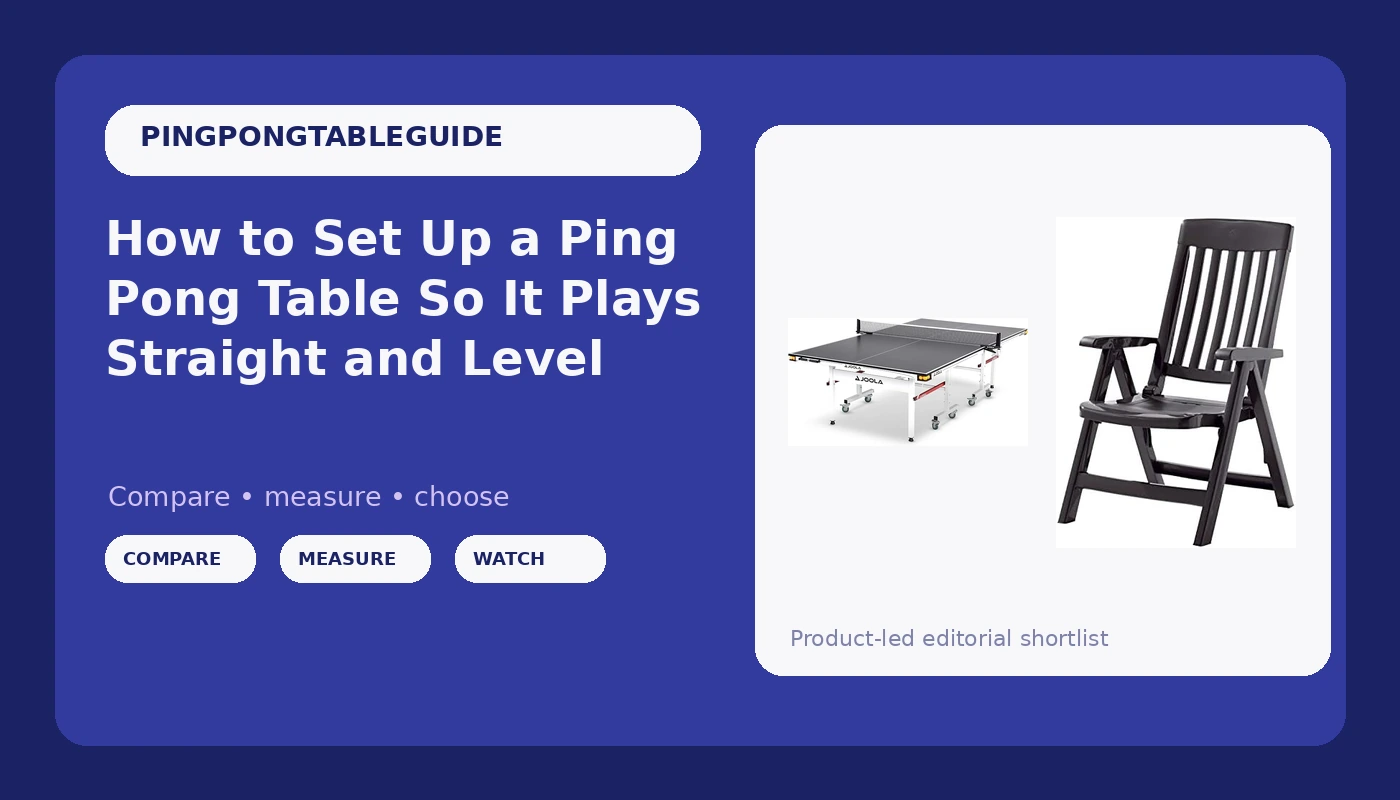
Most people set up a ping pong table the way they set up a grill. Drag the box into the garage, bolt on whatever the instructions call legs, flip it over, and start playing. Then they wonder why the ball kicks sideways near the corners and why the net sags by the second game.
A good ping pong table setup is not about strength or fancy tools. It is about order. Floor first, frame second, level third, net fourth, bounce test last. Do those five things in that order and a mid-priced indoor table plays honestly for years. Do them out of order and a decent table plays like a bad one, and you will blame the table for something you did in the first twenty minutes.
I have set up, leveled, and repaired more tables than I can count at the club I run in Milwaukee, six tables in a converted warehouse, plus the foldables my juniors practice on at home. I know exactly which step people skip. It is almost always the floor. Here is the whole process, the two pieces of gear I would buy first, and the places where a setup quietly goes wrong.
Why you should trust me
I played competitively in the Czech Republic as a teenager, moved to Milwaukee at twenty, and now run a community table tennis club out of a warehouse with six tables. I have bought tournament-grade tables used, rescued cheap foldables that warped in a humid garage, and replaced more folding mechanisms than I want to remember. Forty of them, at last count.
When I look at a table I do three things. I drop a ball from 30cm at nine points on the surface and listen for the one that sounds different. I check the frame diagonals with a carpenter's square. I get on my knees and look at the folding hardware, because that is where tables die, not at the playing surface.
Two things I do not do. I do not review paddles, that is a specialist's job and rubber is its own science. I do not review outdoor tables, because outdoor tables are a different material problem entirely. This guide is about getting an indoor table set up right.
How I picked and how I tested
The gear in this article is the gear that sits around the table during setup and during play. One table, one place to sit. I picked them against the same standard I use at the club: does this thing survive daily use without becoming a maintenance project?
For tables, bounce consistency is the only spec that matters. Thickness is not quality, and anyone who tells you a number on a box equals a good bounce has not dropped a ball on a hollow-core table. A thick table with a hollow core bounces worse than a thinner one with a solid core. What I look for is a surface that returns the ball the same way at all nine points, a frame that stays square after folding and unfolding, and leveling feet that actually move.
For seating, I look at two things: does it fold flat against a wall when the table is in playback mode, and does it survive a garage floor without wobbling.
I will be straight with you about one thing. The two picks below are home picks. I did not run them through six hours a day of club play, and I would not pretend otherwise. My club tables cost what a used car costs, and that is not the article a family with a basement needs. These two are the pieces I would buy for a house, and they are priced like it.
What you need before you start
Before the table, before the net, before anything, you need a plan for the space. You need roughly five feet of clearance on every side of the table for safe play, a ceiling high enough to lift a lob, and a floor that is flat in the area where the table will live.
Then you need two people. Not one strong person. Two average people. Every table injury I have seen at the club came from someone trying to flip a folded table alone.
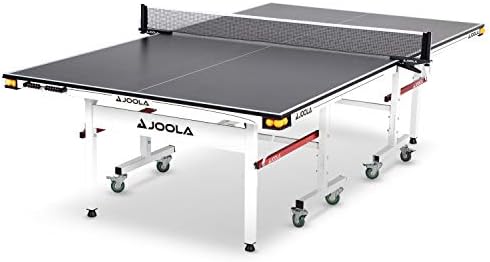
The table: JOOLA Rally TL Professional MDF Indoor Ping Pong Table w/Quick Clamp Table Tennis Net & Post Set - 10 Minute Easy Assembly - Corner Ball Holders - Tournament Quality - Includes Playback Mode
 Visit on Amazon →
This is the table I point families toward when they want an indoor table that will not embarrass them in front of a coach. It is an MDF indoor table with a quick clamp net and post set, corner ball holders, and a playback mode for solo practice, and the assembly is billed as a ten minute job with two people. That matches what I see with clamp-style nets: no tools, no fiddling with wing nuts that strip in month three.
The quick clamp net matters more than people think. A net that mounts and unmounts in seconds is a net that gets set to the correct height every single session. The corner ball holders save you the walk to the bucket, which sounds trivial until you are the one feeding a junior for an hour.
Flaws but not dealbreakers: MDF means moisture is the enemy. This is an indoor table and it should stay indoors, in a room that does not swing wildly in humidity. If your garage turns into a swamp in July, that is a real consideration and you should think about it honestly before you buy.
Anyone setting up a basement or a spare room for family play and light practice will get years out of this.
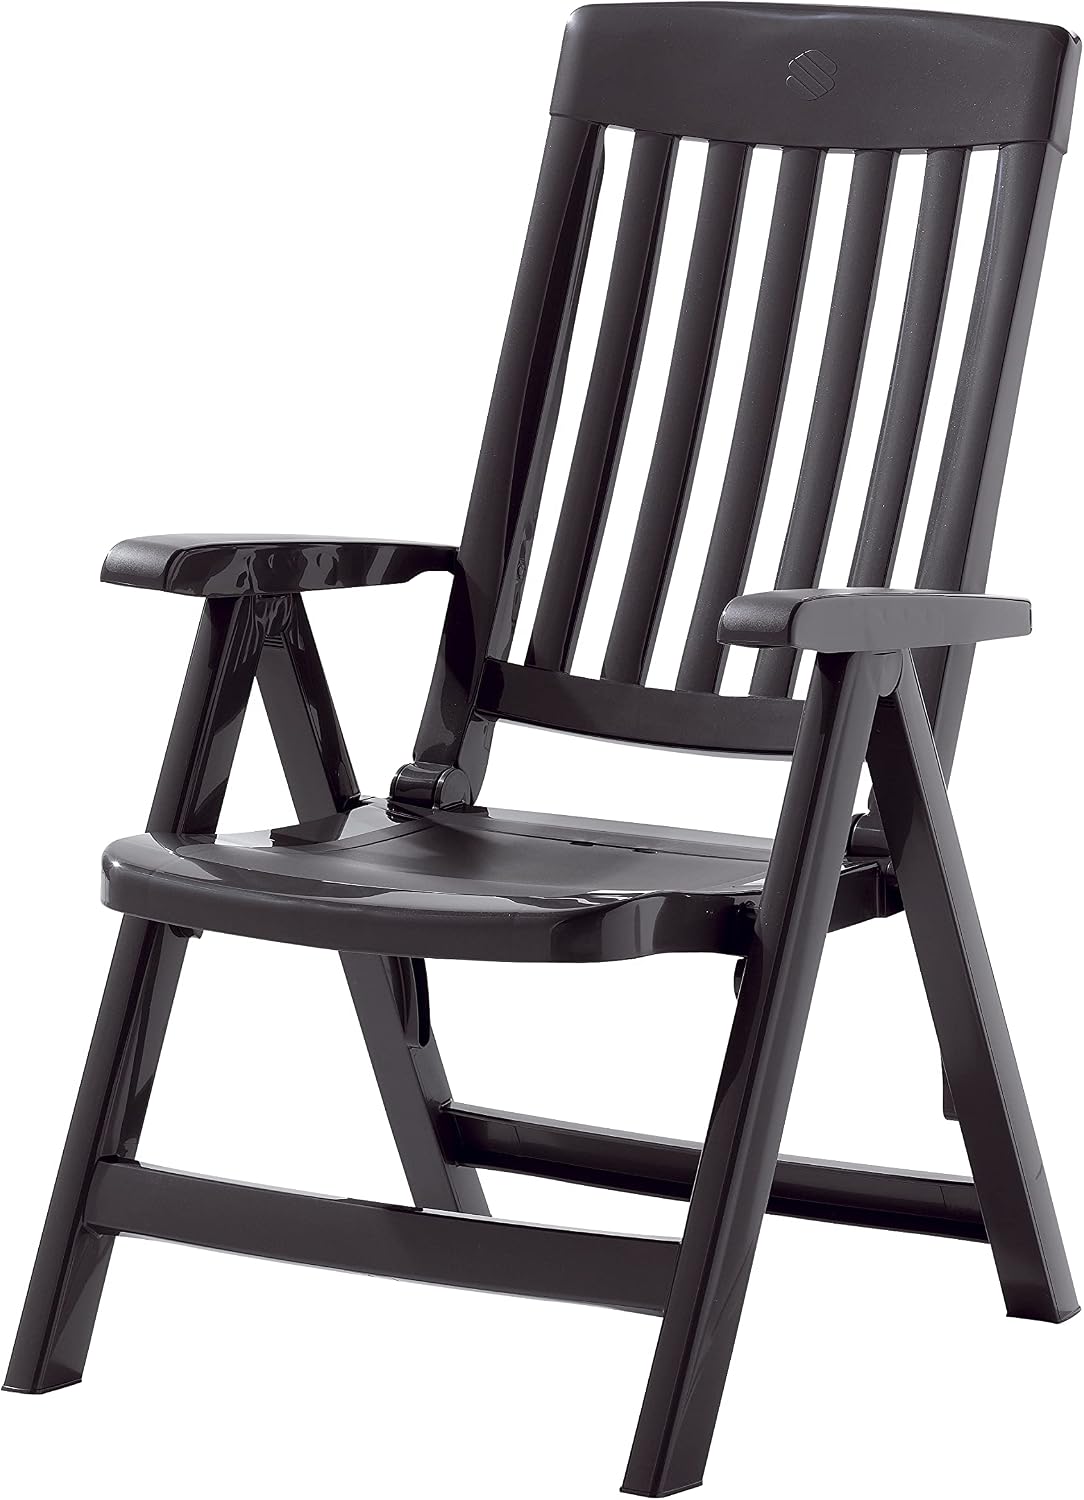
The seating: KETTLER Sieger Resin Folding Chair Anthracite Gray
 Visit on Amazon →
A table with four players needs somewhere to put two of them between games, and a folding chair that lives against the wall is the cheapest upgrade to a home setup there is. This KETTLER Sieger is a resin folding chair in anthracite gray, which means it wipes down, it does not care about a damp garage floor, and it folds flat enough to tuck behind the folded table.
Resin is the right material here for one reason: no rust and no swelling. Wooden folding chairs in a garage either loosen at the hinges or soak up moisture. Resin does neither. The gray finish also hides the scuffs that come with a table tennis room.
Flaws but not dealbreakers: It is a folding chair, not a club bench. If you are seating four players plus parents for a two hour session, one or two of these plus a bench is a better plan than four chairs.
Anyone with a folding table in a garage or basement will use this chair more than they expect, mostly for the player waiting their turn.
The setup, step by step
Now the part you came for. This works on any indoor folding table with independent leveling feet.
Step one: Pick the spot with the floor, not the view. A garage floor is not flat. It slopes toward the door so water runs out, which is great for the car and terrible for a table. Put a level down in two or three candidate spots and pick the flattest one. If the whole floor slopes, accept it and plan on leveling the table to compensate.
Step two: Stage the parts. Open the box, lay out the legs, the hardware bag, and the net set. Put a moving blanket or a flattened cardboard sheet on the floor. You will be assembling the table upside down on that surface.
Step three: Assemble the frame upside down. Follow the manual's order, not your instinct. Most folding tables go together frame first, legs second. Hand tighten every bolt, then go back and snug them. Over-torquing crushes the frame tube and nothing sits square after that.
Step four: Attach the legs and check the hinges. Before you flip, look at the folding mechanism. Move it through its range by hand. If it binds, stop and figure out why. A folding lock that pinches fingers is a design flaw you cannot fix, and you want to know about it before the table is upright and heavy.
Step five: Flip it with two people. One on each end, both hands on the frame, not the legs. Set it down gently, then check that all four feet are on the floor.
Step six: Level the feet. This is the step that separates a table from a trampoline. Adjust each foot independently until a ball set down anywhere on the surface stays put. Walk around the table and press down on each corner, looking for rock. If a corner lifts, that foot needs to come down.
Step seven: Check the frame square. Take a carpenter's square and check the corners, or measure the two diagonals of the playing surface and compare. They should match. A frame that is out of square by a quarter inch will send balls drifting toward one side all night, and you will swear the table is warped when it is just twisted.
Step eight: Set the net. Center posts, then set the height at the center of the net to 15.25cm, which is the standard. Pull the net taut without bowing the posts inward. A loose net eats the ball and gives you a dead bounce that feels like a bad table.
Step nine: Run the bounce test. Drop a ball from 30cm at nine points: four corners, four mid-sides, and dead center. You are listening for consistency, not a specific number. If one point sounds dull or the ball dies there, that spot is your problem, and it is usually a leveling or squareness issue you skipped in step six or seven.
Step ten: Set up storage and playback. If your table has playback mode, fold one half up and check that it locks. Roll the table on its casters a few feet and confirm the locking casters engage. Locking casters are non-negotiable in my book. I have watched a table roll into a car door, and once is enough.
Where a setup goes wrong
The mistakes are boring and they repeat.
Leveling with cardboard. It compresses within a month and the table goes out of level again. Use hard rubber shims or, better, find a flatter spot.
Ignoring the room, not just the floor. A table next to a south-facing garage window will take UV and heat cycles all summer. MDF does not love that.
Storing a folded table against a damp wall. Air cannot move behind it. That is how surfaces get soft spots.
Cranking the bolts. Snug is the goal. Tight enough to stop movement, not tight enough to deform the tube.
Trusting the word tournament on a box. I have seen tables advertised as tournament-grade at 12mm with a hollow core. Tournament quality is a bounce property, not a sticker.
Skipping the net every session. A net left at the wrong height for weeks teaches your family the wrong contact point. Set it when you set the table up, every time.
The competition and why it lost
The tournament brands make wonderful tables. A club-standard table from one of them will out-bounce anything in a basement, and it should, because it is built for six hours a day of play and priced like a piece of institutional equipment. I would love to recommend one to every family I meet. I cannot, because the honest math for a household is different, and a family that spends club money on a home table often ends up with a table nobody uses because it is too heavy to move and too precious to let the kids hit on.
That is why this guide stays in the home lane. Club tables, used tournament tables, and institutional folding tables belong in a different conversation, and I will write that one separately.
Same story with paddles. The paddle market is deep and specialized, and the right rubber for a nine-year-old is not the right rubber for an adult who played in college. I send people to the paddle specialists and stay out of it.
Outdoor tables are the other trap. They look like a bargain and they are a different material science entirely, built to survive sun and rain rather than to bounce a ball consistently. If you want a table for the patio, that is a different article with different rules.
And the chair. You can seat people on anything, a kitchen chair, a bench, a cooler. A folding resin chair is simply the version that folds flat, survives a garage, and does not wobble when someone leans back to watch a rally.
What this all costs
The table is the big line item and the chair is the small one, and both are listed above with a link to the current price, because prices on this stuff move and I am not going to quote you a number that is wrong by the time you read it. Check current Amazon price on the table, then on the chair, and you will have your real budget.
Add the small stuff: a level, a carpenter's square, a tape measure, and a couple of hard rubber shims. Most households already own all four.
Then do the cost-per-day math honestly. A table that lasts ten years and gets used twice a week is somewhere north of a thousand sessions. Whatever you paid, divide it by those sessions. The number is small, and it gets smaller every year you keep the table level and dry.
That is the whole job. Ten steps, two people, one afternoon, and a table that plays the way it was built to play. The equipment is simple. The setup is where people quit early, and it is the only part of this that is fully in your control.