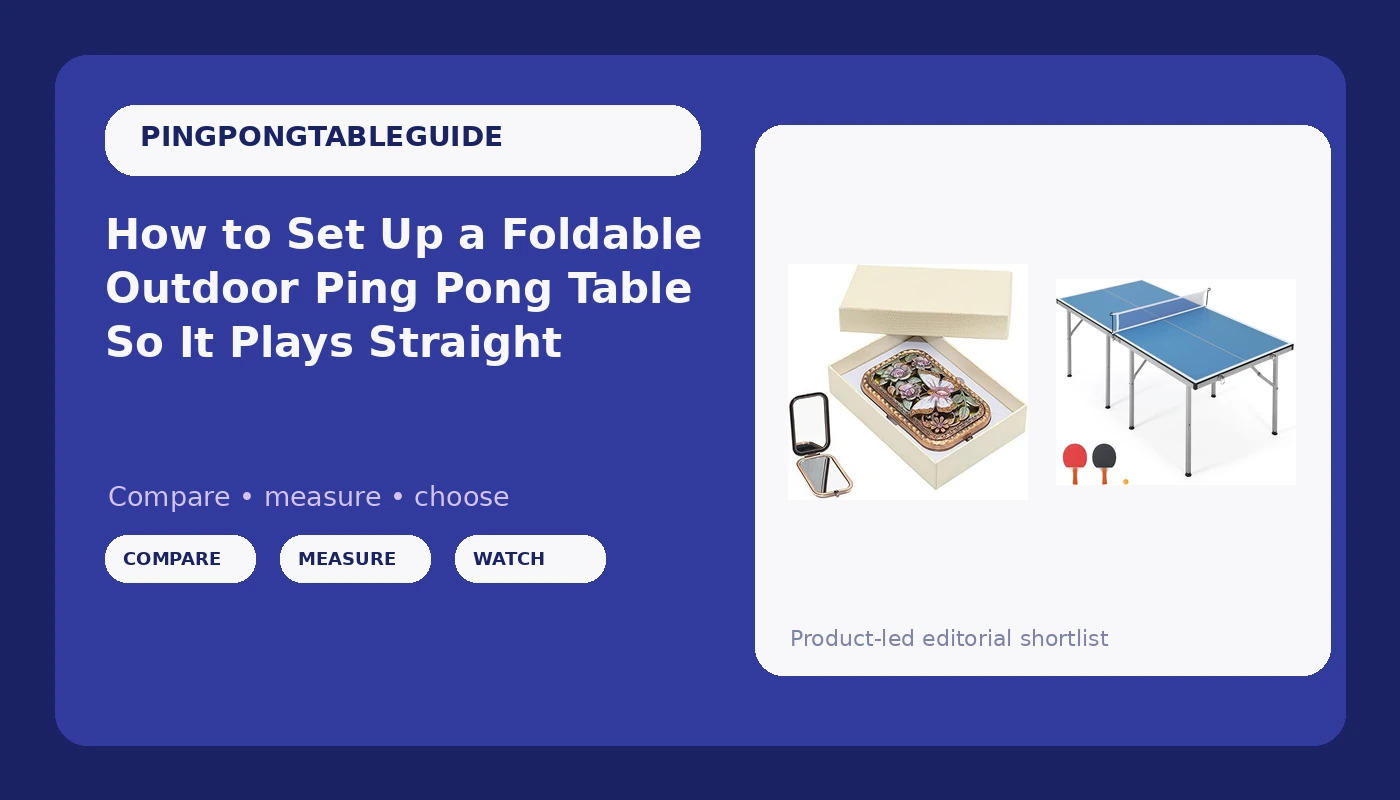
Most people set up a foldable outdoor ping pong table once, in the driveway, with the box still half open and the sun in their eyes. Then they spend three summers wondering why every ball drifts left at the far end. A foldable outdoor ping pong table is three things: a top, a frame, and a hinge system. All three move, and all three can be brought back into line in about half an hour.
I have set up, leveled, and repaired more tables than I can count, most of them in a converted warehouse in Milwaukee where six tables take six days a week of junior practice. I measure thickness, bounce height with a dropped ball, and frame squareness with a carpenter's square. That is the routine this guide hands you, in order, with the numbers that actually mean something.
The half hour is the whole job. Do it once, mark the leg positions, and the table stays honest.
Why you should trust me
I played competitive table tennis in the Czech Republic as a teenager, came to the States at 20, and now run a community club in a converted warehouse in Milwaukee. Six tables live on that floor. I have assembled, leveled, re-leveled, and repaired folding frames until I stopped counting, and I keep a notebook of the numbers: bounce heights, diagonal measurements, which hinge plates bent and which ones held. When a table in my club starts playing crooked, I can usually tell you which corner is carrying the load and which one is just decoration.
The one thing I will not do is review an outdoor table the way I review a club table. Outdoor tables are a different material science. Aluminum or treated steel frames, composite or plastic tops, coatings meant to survive UV and rain. My boundaries are boundaries because the failure modes are genuinely different, and I am not going to pretend a patio table and a 19mm club table fail the same way.
But setup is geometry, and geometry does not care whether the table sits under a warehouse roof or on a deck. The level, the square, and the bounce test work the same on both.
How I picked and how I tested
Let me be straight about what this is. I did not bench-test the table below the way I test a club table, with a dial indicator and a stack of calibration balls. What I can hand you is the inspection routine I run on any folding frame, in order, plus what to look at on this specific table before you trust it with your kids or with your own forehand.
The checks are cheap and boring. A carpenter's square. A tape measure. A ball you do not mind losing. A 30cm drop height, which is roughly net height plus a hand, and which is the height I use for every bounce test I run in the club.
Here is how to read the results. A ball dropped from 30cm should come back up to a consistent height at nine points on the top. Variation between those points is the enemy, not the absolute number. If all nine points are equally slow, you own a slow table and you can still play on it. If one corner swallows the ball, you have a frame problem, and no amount of practice fixes a frame problem.
What you need before the first ball
Two things go outside with you: the table and one small tool I did not expect to use this much. Everything else, meaning a level, a square, a tape, and a ball, is probably already in your garage.
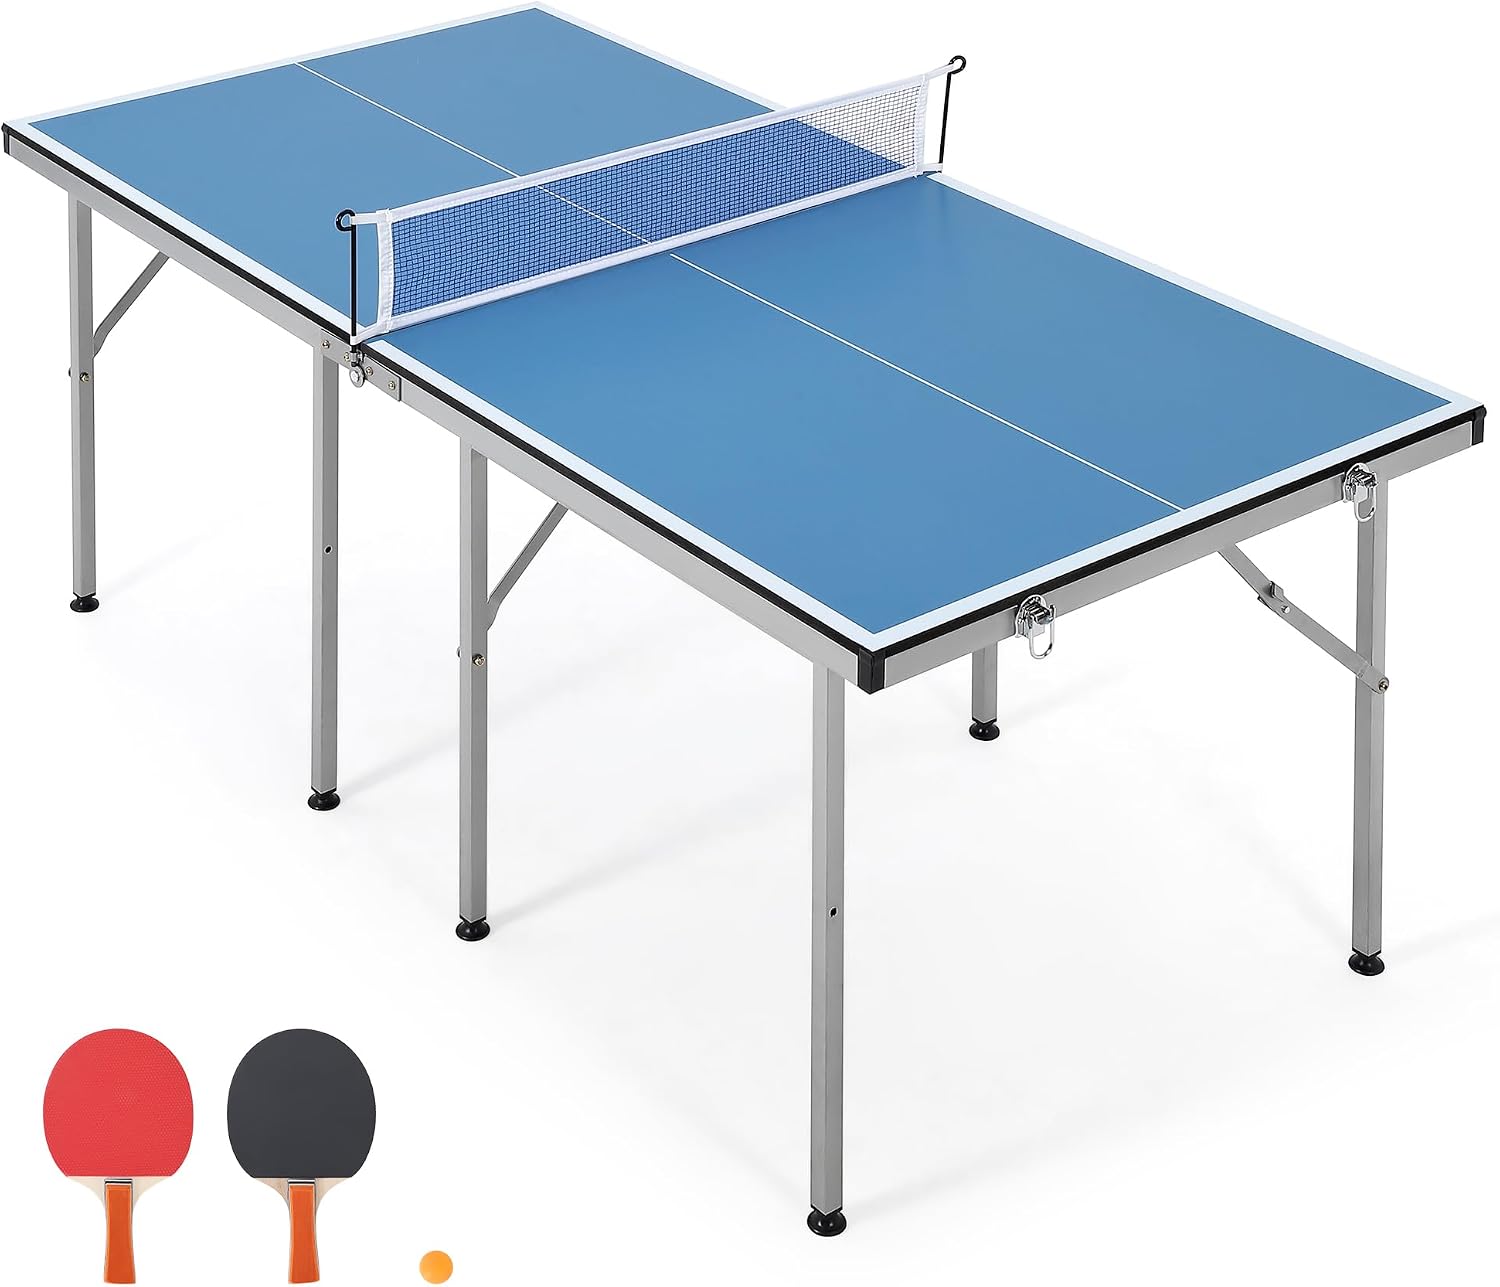
The table in this walkthrough: Outdoor Ping Pong Table, Blue 5x3 ft Foldable Table Tennis Table
 Visit on Amazon →
This is a 5 by 3 foot foldable outdoor table, which makes it a patio table, not a training table. A full size table is 9 by 5 feet, so you are playing on roughly a third of the surface. That changes the game: shorter rallies, more reflex exchanges, and a much smaller target for a serve. Nothing wrong with any of that, as long as you buy it knowing it.
It is blue, it folds, and it is built to live outside, which is the point of it. Check current Amazon price.
Flaws but not dealbreakers: The size is the trade. You will not groove a loop on a 5x3 top, and the bounce off a composite outdoor surface is slower than what your kid feels on a 19mm club table at practice. Treat it as a rally table for the patio and it does its job well. Expecting it to behave like a club table is how people end up disappointed by a perfectly fine product.
Anyone with a deck, a small patio, or a driveway who wants a table that folds up and moves out of the way will get the most out of this one. If you are shopping for a basement table a junior will practice on daily, this is not that purchase, and I would rather tell you that now than have you find out in October.
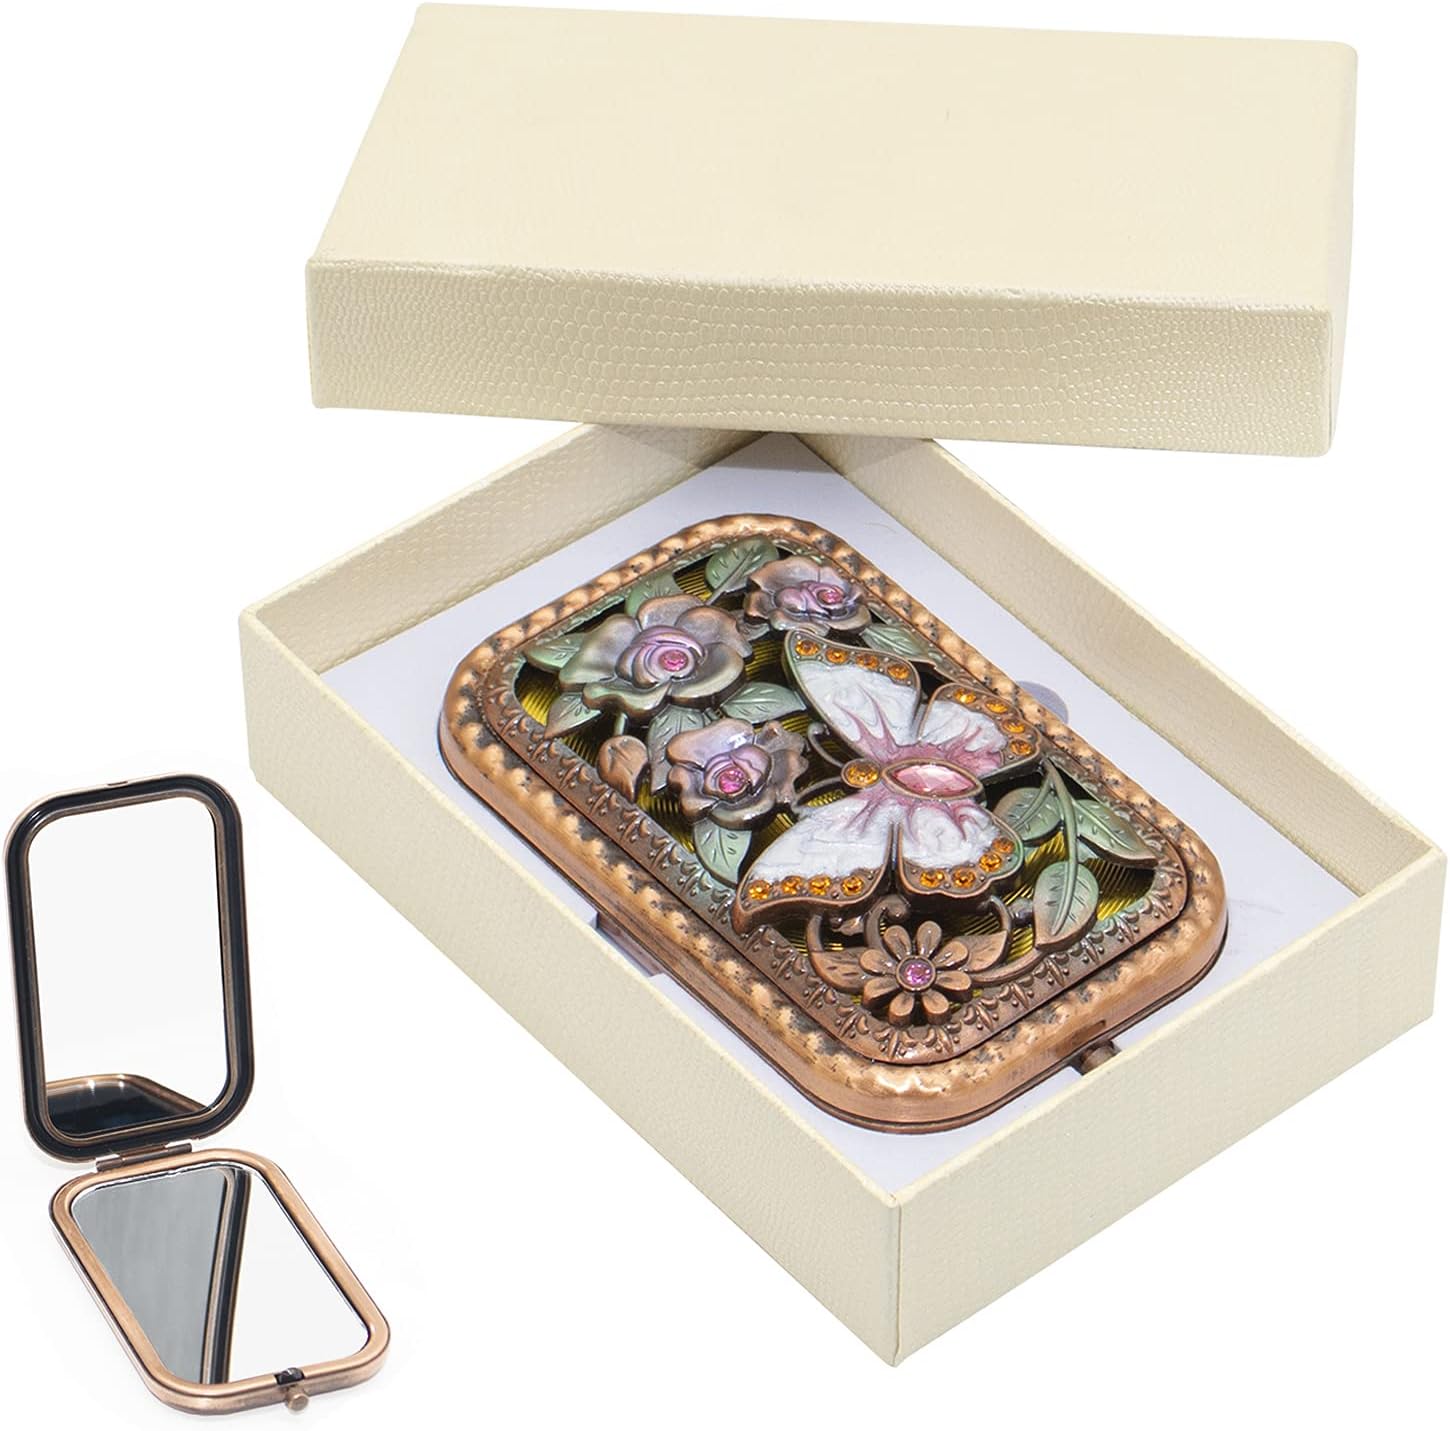
The one non-table tool: Warmtree Vintage Compact Mirror, Purse Mirror Cute Mirror with Butterfly
 Visit on Amazon →
I know how this looks. It is a small folding mirror with a butterfly on it, and it is not a table accessory. It is the thing I use to inspect the underside of a folding table without kneeling in wet grass.
Here is the actual use. Open the mirror, lay it flat under a corner, and angle it up at the apron, the hinge plate, and the leg bolts. You can see whether the bolts are seated, whether a hinge plate arrived bent from shipping, whether the lock spring sits where it should, and whether there is a burr right where your fingers will go when you fold the thing up. Two minutes with a mirror beats ten minutes with a flashlight and a bad back, especially on a lawn.
Flaws but not dealbreakers: It is glass and it is small. Do not leave it on the table in the sun and do not use it to pry at anything. It is an inspection tool, not a wrench.
Anyone setting up a folding table alone, outdoors, without a second pair of hands will get more out of this than they expect.
The setup routine, step by step
Step one: pick the spot before you unpack the box. Concrete or packed gravel. Not grass, because grass hides an out-of-level frame and the legs sink at different rates after a rain. Not a slope. Not the mowing line. If you have a patio, run the long side parallel to the house and leave two feet of clearance at each end for the run-back.
Step two: unfold in the right order. Open the two halves on the ground, bring the legs down, then lock every leg lock and listen for the click. Do not let the halves fall open under their own weight. The hinge plates are the thinnest metal on the table and that fall is what bends them. A 5x3 table is light enough for one person to open, but use two people the first time anyway. The hinge is the weak point, not your back.
Step three: level the legs. Push down on each corner in turn and feel for the rock. Adjust the feet until the rock is gone. This is the step people skip and it is the step that decides everything downstream. A frame that rocks makes every bounce test you run afterward meaningless.
Step four: square the frame. Put a carpenter's square in each corner, or measure the two diagonals from opposite corners. If the diagonals match within a few millimeters, the frame is square. On a folding table the diagonal check is faster, because the hinge in the middle can sit slightly out and still look fine from above.
Step five: the bounce test. Drop a ball from 30cm at nine points: four corners, four mid-edges, center. Watch and listen. On an outdoor top the ball comes back lower than it does on a club table, and that is the material, not a defect. What you are hunting is variation. If the center is dead and the corners are lively, the top is crowned or the frame is bowed. If one corner eats the ball, that leg is not carrying load.
Step six: net height and tension. Check the net at the center and at both posts. A net that sags in the middle makes every serve look like a let. On a folding outdoor table the net is usually a clip-on, so check that the clips are not leaving a gap at the post. Tension the net until the sag is gone, then stop. Overtightening pulls the posts inward on a light frame.
Step seven: fold and unfold it three times before you trust it. Watch where your fingers go. If the lock needs two hands and a knee to release, it will pinch someone eventually, usually a kid. If the table has wheels, check that they lock. Locking casters are non-negotiable in my book. I have watched an unlocked table roll down a driveway and into a car door, and I do not want to watch it again.
Where outdoor tables go wrong
No outdoor table is ITTF spec, and anything claiming "tournament grade" with a thin plastic top is marketing. The ITTF spec describes a 9x5 surface with a specific bounce. A 5x3 patio table is a different product and it should be sold as one.
Heat moves plastic. A top that plays flat at 70 degrees Fahrenheit can crown at 95. Recheck the level in August, not just in May. That is also why I run the bounce test twice a season.
Wind is a real opponent. A light folded top is a sail. Move it with two people and never leave it standing folded in the wind.
Water sits in the folded halves. Tilt it and let it drain after rain, and do not store it folded flat on the ground where the underside stays wet. That is how you get a warped apron and a mildew line.
Never store it folded against a wall in direct sun. That is where I see hinge plates and aprons go out of true, and once the frame is twisted the bounce test will never come back clean.
What this guide is not
This is not a club table guide. The 19mm tables my juniors play on at the warehouse, the ones from the tournament brands, cost real money and belong in a different article. If you are buying for a basement and your kid plays competitively, you want that table, and you want this exact routine run on it.
It is also not a paddle guide. Paddles are their own market with their own specialists and I stay out of it. Bring whatever paddle you own. On a patio table the setup matters more than the rubber, and that is not something I say often.
What this all costs
The table is the only real purchase here. Check current Amazon price. The rest of the routine is a carpenter's square, a tape measure, a level, and a ball, and most households already own three of those four. The mirror is the one small extra, and it costs less than a box of practice balls. Check current Amazon price.
Run the math over a summer. If the table gets used four evenings a week from May through September, that is roughly 80 sessions. Divide the cost by 80 and you are paying less per session than a bucket of range balls. The setup half hour is free, and it is the difference between a table that plays straight and a table that teaches your kid to aim two inches left.
Set it up properly once, mark the leg positions with a piece of tape on the patio, and you can put it back in the same spot every time. That is the whole trick. The table was built to do this.