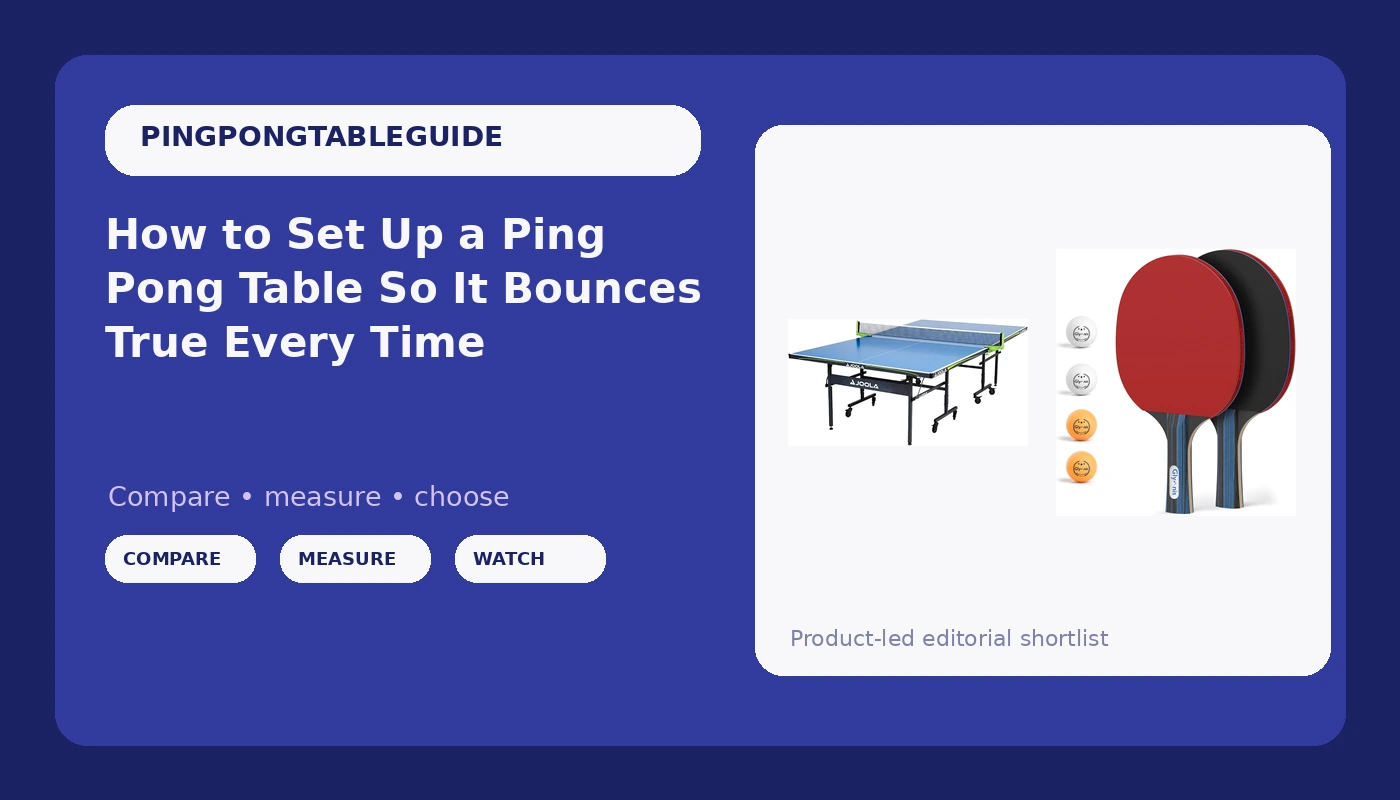
Most people set up a ping pong table the way they set up a bookshelf: unbox it, bolt it together, stand it up, play. Then they spend two years wondering why the ball kicks left in the corners and why every practice session feels slightly off. Ping pong table setup is not assembly. It is four things done in order: level, square, net height, and bounce. Get those four right and a modest table plays better than an expensive one that was thrown together in a driveway.
I run a community club in a converted warehouse in Milwaukee with six tables on the floor. I have set up, leveled, and repaired more of them than I can count, including the cheap foldables that warp inside a season and the used tournament-grade ones we bought from a school district that was clearing a gym. My method has not changed in years, because it works. Measure the floor. Square the apron. Level the legs. Set the net to spec. Then drop a ball at nine points and write the numbers down.
This is the whole procedure, start to finish, plus the two pieces of equipment that decide whether the procedure holds. Budget an hour the first time. It takes ten minutes every time after that.
Why you should trust me
I played competitively in the Czech Republic as a teenager and have been running club tables since. Six tables live in my warehouse, and they take six hours of daily play from juniors who do not baby anything. I have fixed around 40 folding mechanisms, replaced more casters than I want to remember, and thrown out two tables that were sold as club-grade and warped in a heated garage.
What I do is boring and repeatable. I drop a ball from 30 cm at nine points and write down the rebound. I check frames with a carpenter's square. I check thickness with a caliper, and I check the core by rapping a knuckle along the surface and listening for the hollow spots. I do not trust spec sheets, and neither should you.
What setup actually means
Setup is not "assembled correctly." A table can be assembled perfectly and still play badly, because the table interacts with your floor, your room, and the way you store it.
Four variables decide everything:
Level. Your floor is not flat. A garage floor slopes toward the door so water runs out. A basement floor has a low spot where the old drain was. If the table is not level, the ball does not bounce straight, and you will spend months blaming your stroke.
Square. If the frame is twisted, the two halves meet at an angle instead of flush, and the ball does something strange at the center line. Squareness is a frame issue, not a floor issue.
Net height. The net is part of the playing surface, not decoration. A net set too high turns every loop into a net ball. A net set too low lets you develop a flat, slappy stroke that will not survive contact with a real opponent.
Bounce consistency. This is the only spec that matters. Not thickness, not the brand name on the apron, not the words "tournament-grade" printed at 12mm on a box. Bounce consistency is what you can measure, and it is what your practice depends on.
The trap is that all four get worse over time. Folding mechanisms loosen. Legs settle. A table stored against a wall in a humid garage will warp, and warping is not reversible. That is why setup ends with a re-check, not a fist bump.
The gear this setup depends on
Two pieces of equipment carry the whole procedure: the table itself and the balls and rackets you hand people when four of them show up. Everything else in my kit is a tape measure, a torpedo level, a carpenter's square, and a bag of shims.
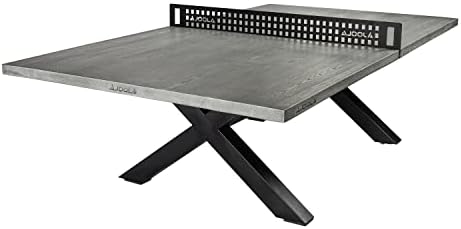
The table: JOOLA Outdoor Table Tennis Table - Multi Use Conference Table Dining Table - Concrete Wood Look Includes Steel Outdoor Ping Pong Net Set & Frame - Hybrid Indoor Outdoor Ping Pong Table
 Visit on Amazon →
I have said before that I do not review outdoor tables, and I mean it. Outdoor material science is a different subject with different failure modes, and I refer that work elsewhere. This one is in the guide for a different reason: the supplied name describes it as a hybrid, a multi use table that doubles as a conference or dining table with a concrete wood look, and it ships with a steel net set and frame.
That hybrid design is exactly why it belongs in a setup article. A table that converts between dining mode and play mode gets moved, unfolded, and refolded far more often than a table that lives in a basement. Every one of those transitions is a chance to lose your level and your square. If this is the table in your room, the workflow below is not a one time job. It is a routine you run each time the table goes back into play position, and the re-check step at the end matters more for you than for anyone else.
Flaws but not dealbreakers: Any convertible table asks you to be disciplined about storage. Fold it with the net off, lock the casters, and never lean a folded table against a wall for months.
Anyone who needs one surface to do two jobs, dinner on Tuesday and table tennis on Saturday, should read the whole procedure before ordering.
The starter kit: Glymnis Ping Pong Paddles Set of 4/2, Table Tennis Rackets Set and Balls
 Visit on Amazon →
I do not review paddles. Rubber, sponge hardness, and blade composition belong to people who specialize in that, and I send players to them. But a setup guide has to answer a practical question: what do you hand four people who just walked into your basement and want to play?
That is the gap this set fills. The listing covers a four racket set and a two racket set, and it comes with balls. For a family table or a first table, that is the difference between "we can play tonight" and "we can play once someone drives to a store." It is a starter kit, not a competition kit, and I would not pretend otherwise. When a player in your house starts caring about spin and control, that is the moment to buy them a proper racket individually, one racket at a time, fitted to how they actually hit.
Flaws but not dealbreakers: Starter rackets wear out. The rubber on any inexpensive preassembled racket goes slick long before the wood gives up. If the ball stops gripping, replace the racket, not your technique.
Anyone setting up a family table and needing four players equipped on day one will be fine here.
The actual setup workflow
Now the part you came for. Do these in order. Skipping ahead is how people end up with a table that reads level and still bounces crooked.
Step one: Put the table where it will live, and read the floor. Not the middle of the room, not the spot that looks nice. The actual spot. Roll it there and check whether the floor slopes. A garage slab that drops two inches toward the door is normal. Leveling a table in one place and then moving it wastes the whole job.
Step two: Assemble flat, tighten last. Lay the table halves face down on cardboard and bolt the frame and apron with every bolt started finger tight. Do not crank one corner down and move on. A frame tightened from one corner first pulls out of square and stays that way, and you will chase the twist for the life of the table.
Step three: Check square with the diagonals. Measure corner to corner across the frame in both directions. The two numbers should match. If they do not, loosen the bolts, push the long diagonal in, and retighten in a cross pattern. Then lay a carpenter's square against the apron and check that the apron meets the frame at a true right angle.
Step four: Set the net. Net height at the center is 15.25 cm, about six inches, measured from the playing surface to the top of the net. The net should touch the table along its full length with no gap under it. Check both posts. A net that is tight at one end and sagging at the other is worse than no net at all, because it teaches you to aim around a problem that will not exist on a real table.
Step five: Level the legs. Lock every caster first. Leveling a table on unlocked casters is leveling a moving target, and it is the single most common mistake I see. Use the leg adjusters and get the four corners and the center of each half reading the same. Only reach for shims when you have run out of adjuster travel.
Step six: Run the nine point bounce test. Hold a ball 30 cm above the surface, let it go, and watch the rebound. Do it at nine points per half: four corners, four mid-sides, and the center. What you are looking for is not a high bounce. It is the same bounce. If one corner rebounds noticeably lower, that corner is low, or the core there is soft, or the table has begun to warp. Numbers only. Write them down.
Step seven: Play a hundred balls, then re-torque. New tables settle. Bounce changes after the first real session as bolts seat and legs compress. Re-check the diagonals and the nine point test after that first session, not before it.
Step eight: Fold and store correctly. Net off before folding, every time. Casters locked when parked. A folded table leaning against a wall for a winter is a warped table by spring, and warp does not come back.
Step nine: Re-check after every mode change. If your table converts between dining and play, run steps three, five, and six every time you put it back into playing position. It takes five minutes. It is the entire difference between a table that plays the same in October as it did in June and one that slowly drifts.
What this guide does not cover
I do not review paddles or rubber. That is a specialist's job, and a bad recommendation there costs a player their stroke. I do not review outdoor tables either, because outdoor material science is its own subject with its own rules.
Robot trainers, floor mats, barriers, and ball baskets are separate guides. They are real equipment with real value for a club, but none of them affect whether your table bounces true, and bundling them here would just be padding.
And I do not care about the phrase "tournament-grade" on a box. If the table is 12mm with a hollow core, the phrase is marketing. If it is 19mm with a solid core, it will hold up in a garage and nobody needed to tell you it was tournament anything.
What this all costs
The honest answer is that setup costs you an hour and a handful of tools you may already own: a tape measure, a torpedo level, a carpenter's square, and a pack of shims. Buy the square if you own nothing else. It is the tool that catches a twisted frame before you spend a season fighting it.
The two pieces of equipment above carry the rest. Check current Amazon price on the table and on the racket set before you commit, because both move. What you are paying for is not features on a spec sheet. It is a surface that bounces the same at nine points and a racket in every hand when four people show up.
Here is the math that matters. A table set up correctly gets used for years and stays honest. A table thrown together in a driveway gets blamed, then replaced, then blamed again. The hour is the cheapest part of owning a table tennis table, and it is the only part that decides whether the thing under your ball is a playing surface or a piece of furniture.
Do it once, write the numbers down, and re-check after every move. That is the job. The table will do the rest.