Most people who buy a mid-size table tennis table are not really buying a table. They are buying a way out of a floor space problem. A full 9 by 5 foot table wants a room most houses do not have, and a garage with a car in it and a water heater in the corner does not qualify. The 6 by 3 foot mid-size table is the honest answer for a lot of those houses, and it is the table I recommend when a family tells me the basement is finished but the floor is spoken for.
I run a community club with six tables in a converted warehouse, and I have set up, leveled, shimmed, and repaired enough of them to know where the headaches live. They are never in the middle of the playing surface on day one. They show up in the net, the folding hardware, and the feet.
This is the setup workflow I hand to families who ask me about a garage or basement table. One person can do it in about an hour. Two people do it in forty minutes and argue less.
Why you should trust me
I played competitively in Brno as a teenager, moved to Milwaukee at 20, and now run a club that keeps six tables under daily use. I have set up folding tables for tournaments, bought used club tables and rebuilt their undercarriages, and repaired somewhere around 40 folding mechanisms. I measure playing surface thickness with calipers, bounce with a ball dropped from 30 cm at nine points on the surface, and squareness with a carpenter's square laid across the corners.
Two things I do not review: paddles, because that is a different craft with different rubber and different hands, and outdoor tables, because a composite top that lives outside is a different material science. Today is about indoor tables and the gear that has to survive them.
What actually matters on a mid-size table
Forget the word "tournament" on the box. A mid-size table is a different product from a club table and it should be judged on four things.
The playing surface and its core. Thickness is not quality. A thick top with a hollow core bounces worse than a thinner top with a solid core. The number on the box tells you how much material is there, not whether the material is dense. You find out which one you bought with a ball, not a spec sheet.
The frame and the apron. The apron is the skirt of metal that runs under the edge of the playing surface. It is what keeps a folding table from sagging in the middle after two summers in a garage. A thin apron with a lot of flex is where a mid-size table starts to bow.
The leveling feet. Garage slabs slope toward the door so water runs out. Basement floors slope toward the drain. Your table has to be able to fight that, which means threaded feet with real range, not rubber caps that spin on a fixed post.
The folding mechanism and the casters. Folding hardware is where tables die. I have replaced hinges, latch pins, and bent brackets on tables that were otherwise fine. And if the table has wheels, the wheels must lock. I have watched a table roll into a car door, and I do not want to watch it again.
For a garage or basement, a top in the 12 to 15mm range is perfectly usable if the core is solid and the frame is braced. If you want something closer to club feel, 18mm and up with a solid core is where you look. What matters more than either number is whether the bounce is the same everywhere on the surface. We will test that.
The gear you need before you start
You cannot set up a table that folds wrong, and you cannot fix a net that was never any good. Two pieces of gear do most of the work here.
I have not had either of these two products in my club, so I am not going to pretend I put a ball on them. What I can give you is the checklist I would run the day they arrive, and the reasons each one fits this specific job.
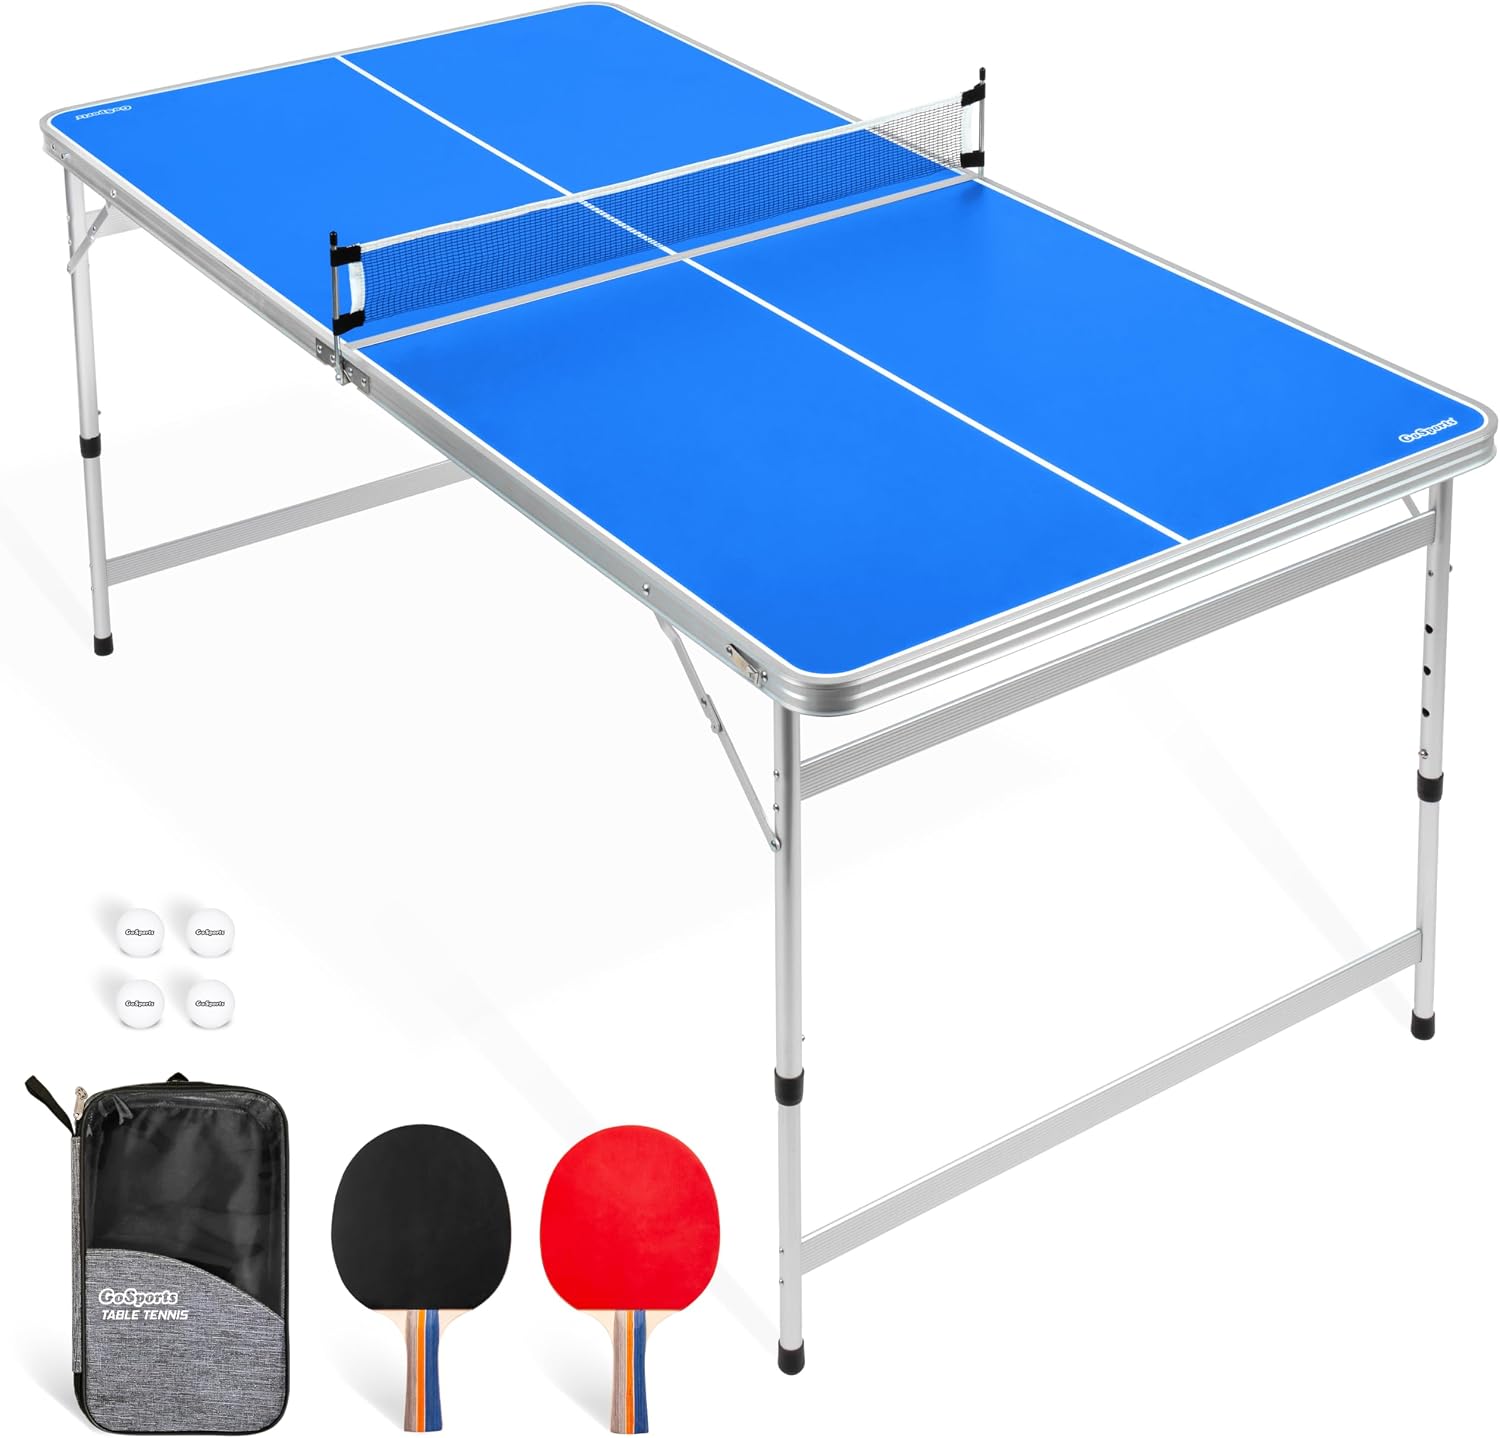
The table: GoSports 6 x 3 ft Mid-Size Table Tennis Table Set with Adjustable Height - Green or Blue
 Visit on Amazon →
This is the category I point families to when a full table is not happening. It is a 6 by 3 foot top, so it is half the footprint of a regulation table and it fits a one-car garage bay with room to move. The adjustable height is the feature that separates it from a plain mid-size table, because it lets a seven year old play at a height where the ball is not coming off the floor, then goes back up for adults. It comes in green or blue, which matters more than people admit: blue tops are easier to track under mixed garage lighting, green tops are easier to track under fluorescent basement tubes. Pick the one that matches your light, not your floor.
What I would check when it arrives: set the height adjusters on both halves and confirm they land at the same setting, because one half an inch off is a bounce you will feel in your elbow before you see it. Then look at the hinge line where the two halves meet. Run your hand across it. If there is a lip you can catch a fingernail on, the ball will jump there and every rally will feel slightly wrong. Then grab the apron under the edge and push down. Flex you can see is flex you will pay for later.
Check current Amazon price before you commit, because this category moves around a lot seasonally.
Caveats, not dealbreakers: A mid-size table is a practice and family table, not a club table. The bounce will not match a 19mm club surface, and the playing area is smaller, so your footwork habits at home will be different from your footwork at the club. That is fine as long as you know it. If your kid is training seriously, this is the table for the garage, not for the tournament.
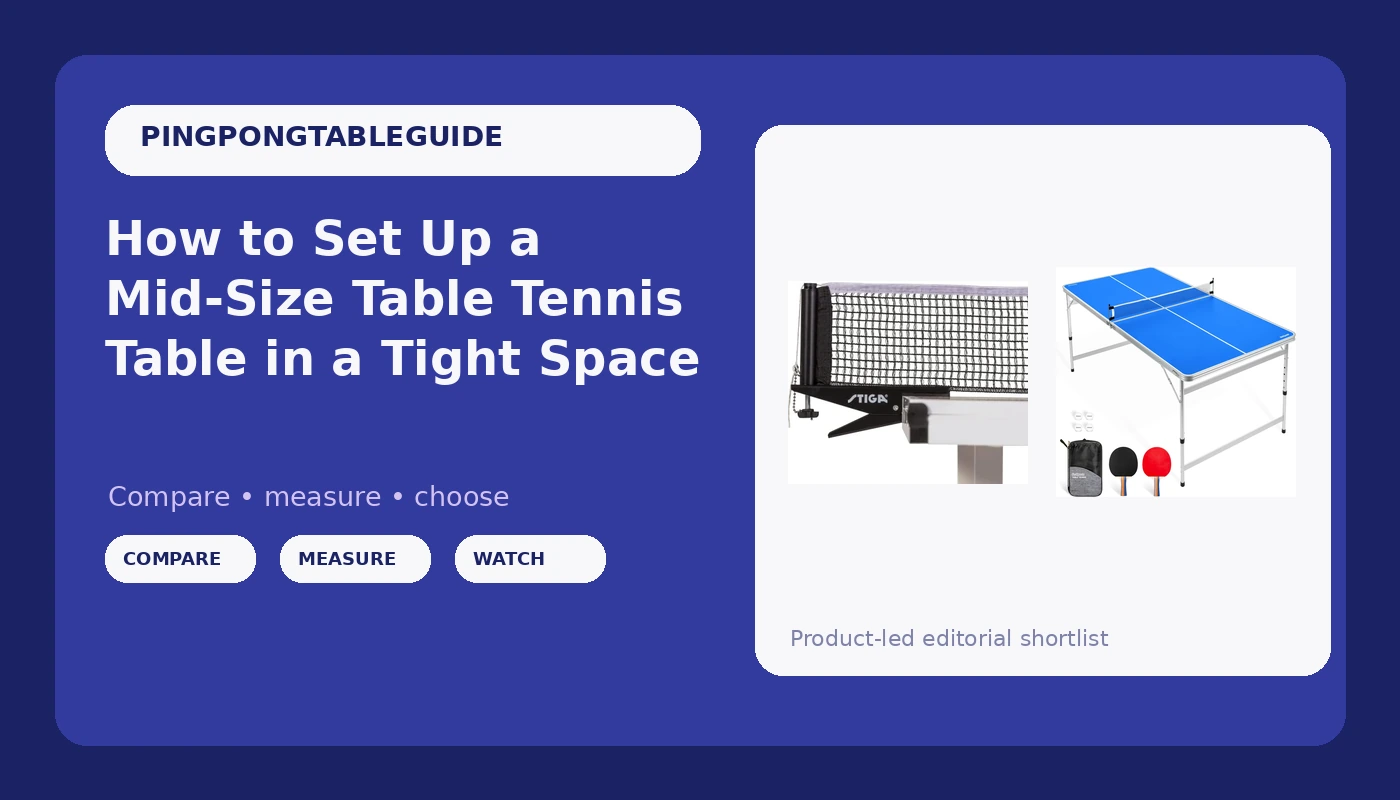
The net: STIGA Premium Clipper Regulation Table Tennis Net and Post Sets - Easy Set Up and Spring Activated Clip ping Pong net Set
 Visit on Amazon →
The net is the part of a table that fails first and fails quietly. Most tables, mid-size ones especially, ship with a net that sags by the second week, and a sagging net does two things: it changes the height of the net at the middle of the table, and it gives you a dead bounce off a loose surface. Both teach bad habits.
This is a clip-on set with spring activated posts, which means it attaches to the table edge without tools and without the flimsy bolt-and-bracket arrangement that strips out on cheap tables. Clip systems are also what I recommend for anyone who shares a table with a car or a workbench, because you can pull the net off in two seconds and set it aside when the table folds.
One thing to check before you order, and this is the honest caveat: a regulation net is built for a regulation table, which is wider than a 6 by 3 foot mid-size top. Measure the distance between the points where your table's posts would clamp, and compare it to the net's width. If the span does not line up, do not force it. Where this net is the clear answer is a table with side-mounted posts you can slide a clip onto, and it also carries over perfectly if you later move up to a full-size table. Check current Amazon price, then grab a tape measure.
Caveats, not dealbreakers: A good net does not fix a bad table. If the surface is warped, the best net in the world will just sit on a warped surface.
The actual setup workflow
Now the part you came for. This works on any folding mid-size table.
Step one: Pick the room before you unpack anything. You need clear floor behind both ends, enough to take two steps back and swing. You also want to avoid a table sitting directly under a low-hanging garage door track. The ball does not care, but your head does.
Step two: Unpack on a blanket, not on concrete. Cardboard on concrete is fine; metal hardware on concrete is how you scratch the playing surface before you ever play on it. Keep the hardware bags separate and keep the instructions. You will need them again the first time you fold it.
Step three: Assemble the frame loose, then square it. Hand-tighten everything first. Then take a carpenter's square to each corner of the frame, and measure diagonally corner to corner in both directions. If the two diagonal measurements match, the frame is square. If they do not, loosen the frame, push it until they match, and tighten from the middle out. This single step is the difference between a table that plays clean and a table that always seems to be fighting you.
Step four: Level it, and level it properly. Put a bubble level on the playing surface and check it front to back and side to side, at both ends and in the middle. Use the threaded feet to fix what you find. If a foot runs out of adjustment, shim under the foot with a thin piece of plywood, never under the playing surface.
Step five: Set the net and check its height. Clip or thread it per the design, then pull the tension so the net does not sag in the middle. Then check the height at the center and at both posts. If the middle is lower than the ends, tighten it.
Step six: Run the bounce test. Take a ball and drop it from 30 cm, straight down, at nine points on the surface: the four corners, the four edge midpoints, and the center. Listen and watch. The ball should reach roughly the same height at all nine points. Where it comes back low or comes back dead, you have found a hollow spot or a sag, and that is the spot you should mention to the manufacturer while you can still return it.
Step seven: Test the fold before you trust it. Fold and unfold the table twice with two people. Watch the latch pins. A folding lock that does not fully engage is a table that comes down on a kid. If the pins are stiff or the latch needs two hands, that is an assembly problem, not a design problem, so go back and check your step three work.
Step eight: Lock the wheels and mark your settings. If your table has casters, put it where it lives and lock every wheel. Then, if you have adjustable height, mark the height setting on both ends with a strip of tape so the next person who changes it can put it back exactly.
Step nine: Store it right. Fold it, stand it up, and keep it away from the door you actually drive through. Take the net off if you can, or fold it flat between the halves. Most net damage happens in storage, not in play.
Where mid-size tables go wrong
The net sags, the feet spin, the latch pinches, and the paint peels exactly where the ball lands most, which is the middle. None of those are fatal. All of them are easier to prevent than to repair.
One more thing about thickness. I hear families comparing 15mm tables to 18mm tables like it is the only number that exists. I have played on thick tables with hollow cores that bounced like a cardboard box and thin tables with solid cores that bounced true. If you learn nothing else from this, learn to trust the bounce test over the spec sheet.
What this all costs
Both pieces here sit in the budget tier of the category, so check current Amazon price on each and compare it against what a club-grade table costs, which is several times more. On a per-day basis over a couple of years, the mid-size table plus a proper net is one of the cheapest things you can put in a garage. The setup hour is free, and it is the part that decides whether you got your money's worth.
What I left off this list
Full-size regulation tables, because they are a different article and a different room. Outdoor tables, because I do not review them and you should not treat a table that lives outside like one that lives inside. Paddles and rubber, because that is a specialist's job and I am not going to guess at your grip. A ball machine or a robot, because you need a table and a net that hold still before any of that helps you.
That is the job. A table only has to be flat, square, and level, and the net only has to hold up. Everything after that is you.